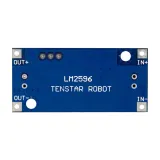
SKU: OT2073-B48 Αριθμός είδους: AA104 EAN: 4772496877447

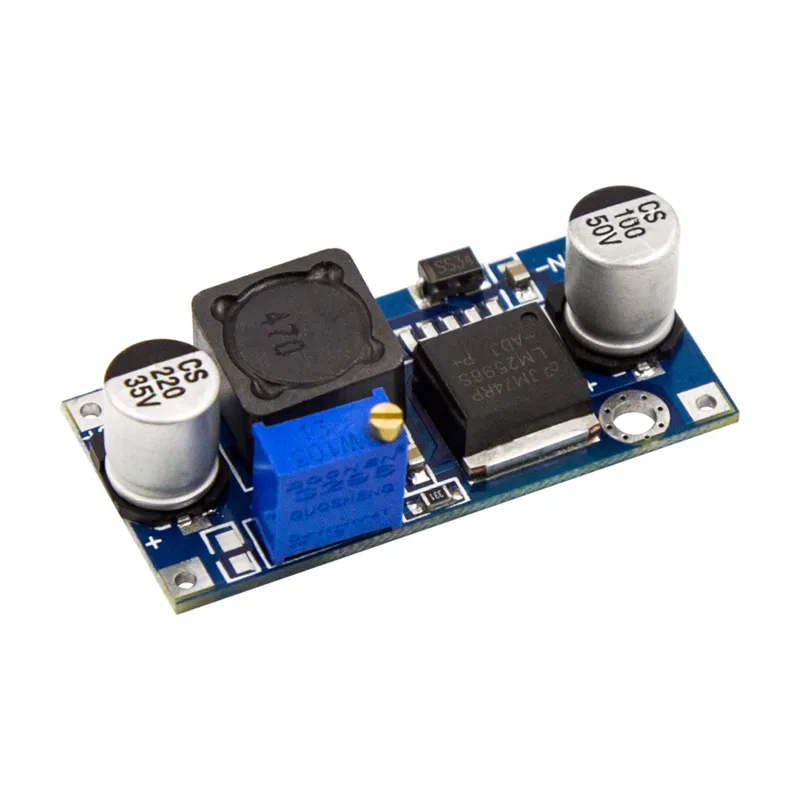
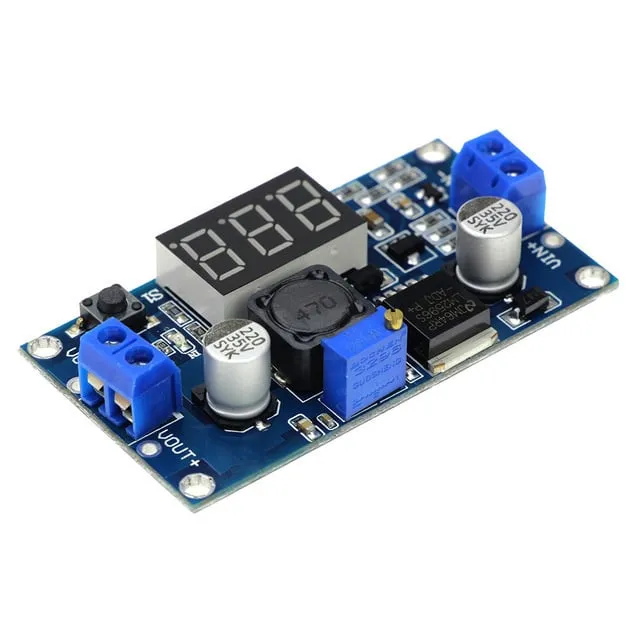
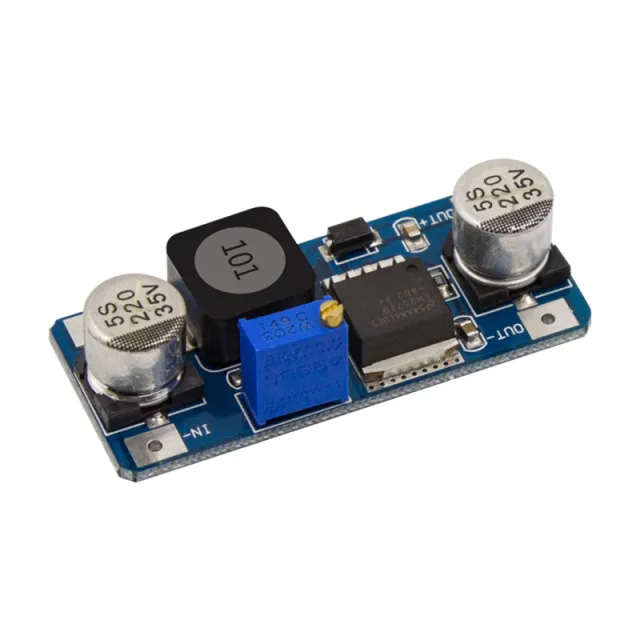
Με το LM2596 step-down module μπορείτε να μετατρέψετε μια DC τάση εισόδου μεταξύ 3V και 40V σε ρυθμιζόμενη DC τάση εξόδου από 1.5V έως 35V. Το LM2596 module σταθεροποιεί την τάση εξόδου και παραμένει σταθερό όσο η τάση εισόδου δεν είναι χαμηλότερη από 10% πάνω από την τάση εξόδου. Αυτό μπορεί να είναι χρήσιμο, για παράδειγμα, για την τροφοδοσία ηλεκτρονικών συσκευών που λειτουργούν σε χαμηλότερη τάση από την τυπική τάση τροφοδοσίας. Το LM2596 module είναι εξοπλισμένο με ποτενσιόμετρο με το οποίο η τάση εξόδου μπορεί εύκολα να ρυθμιστεί.
Το module έχει μέγιστο ρεύμα εξόδου 3A με απόδοση έως 92%. Το LM2596 διαθέτει ενσωματωμένες λειτουργίες προστασίας (όπως από υπερθέρμανση, υπερένταση και βραχυκύκλωμα) για να διασφαλίζει ότι ο εξοπλισμός σας τροφοδοτείται με ασφάλεια.
Τεχνικές προδιαγραφές:
- Τάση εισόδου: 3V - 40V DC
- Τάση εξόδου: 1.5V - 35V DC (ρυθμιζόμενη)
- Μέγιστο ρεύμα εξόδου: 3A
- Απόδοση: έως 92%
- Ενσωματωμένες λειτουργίες προστασίας (υπερθέρμανση, υπερένταση, βραχυκύκλωμα)
- Διαστάσεις: 43mm x 21mm x 14mm
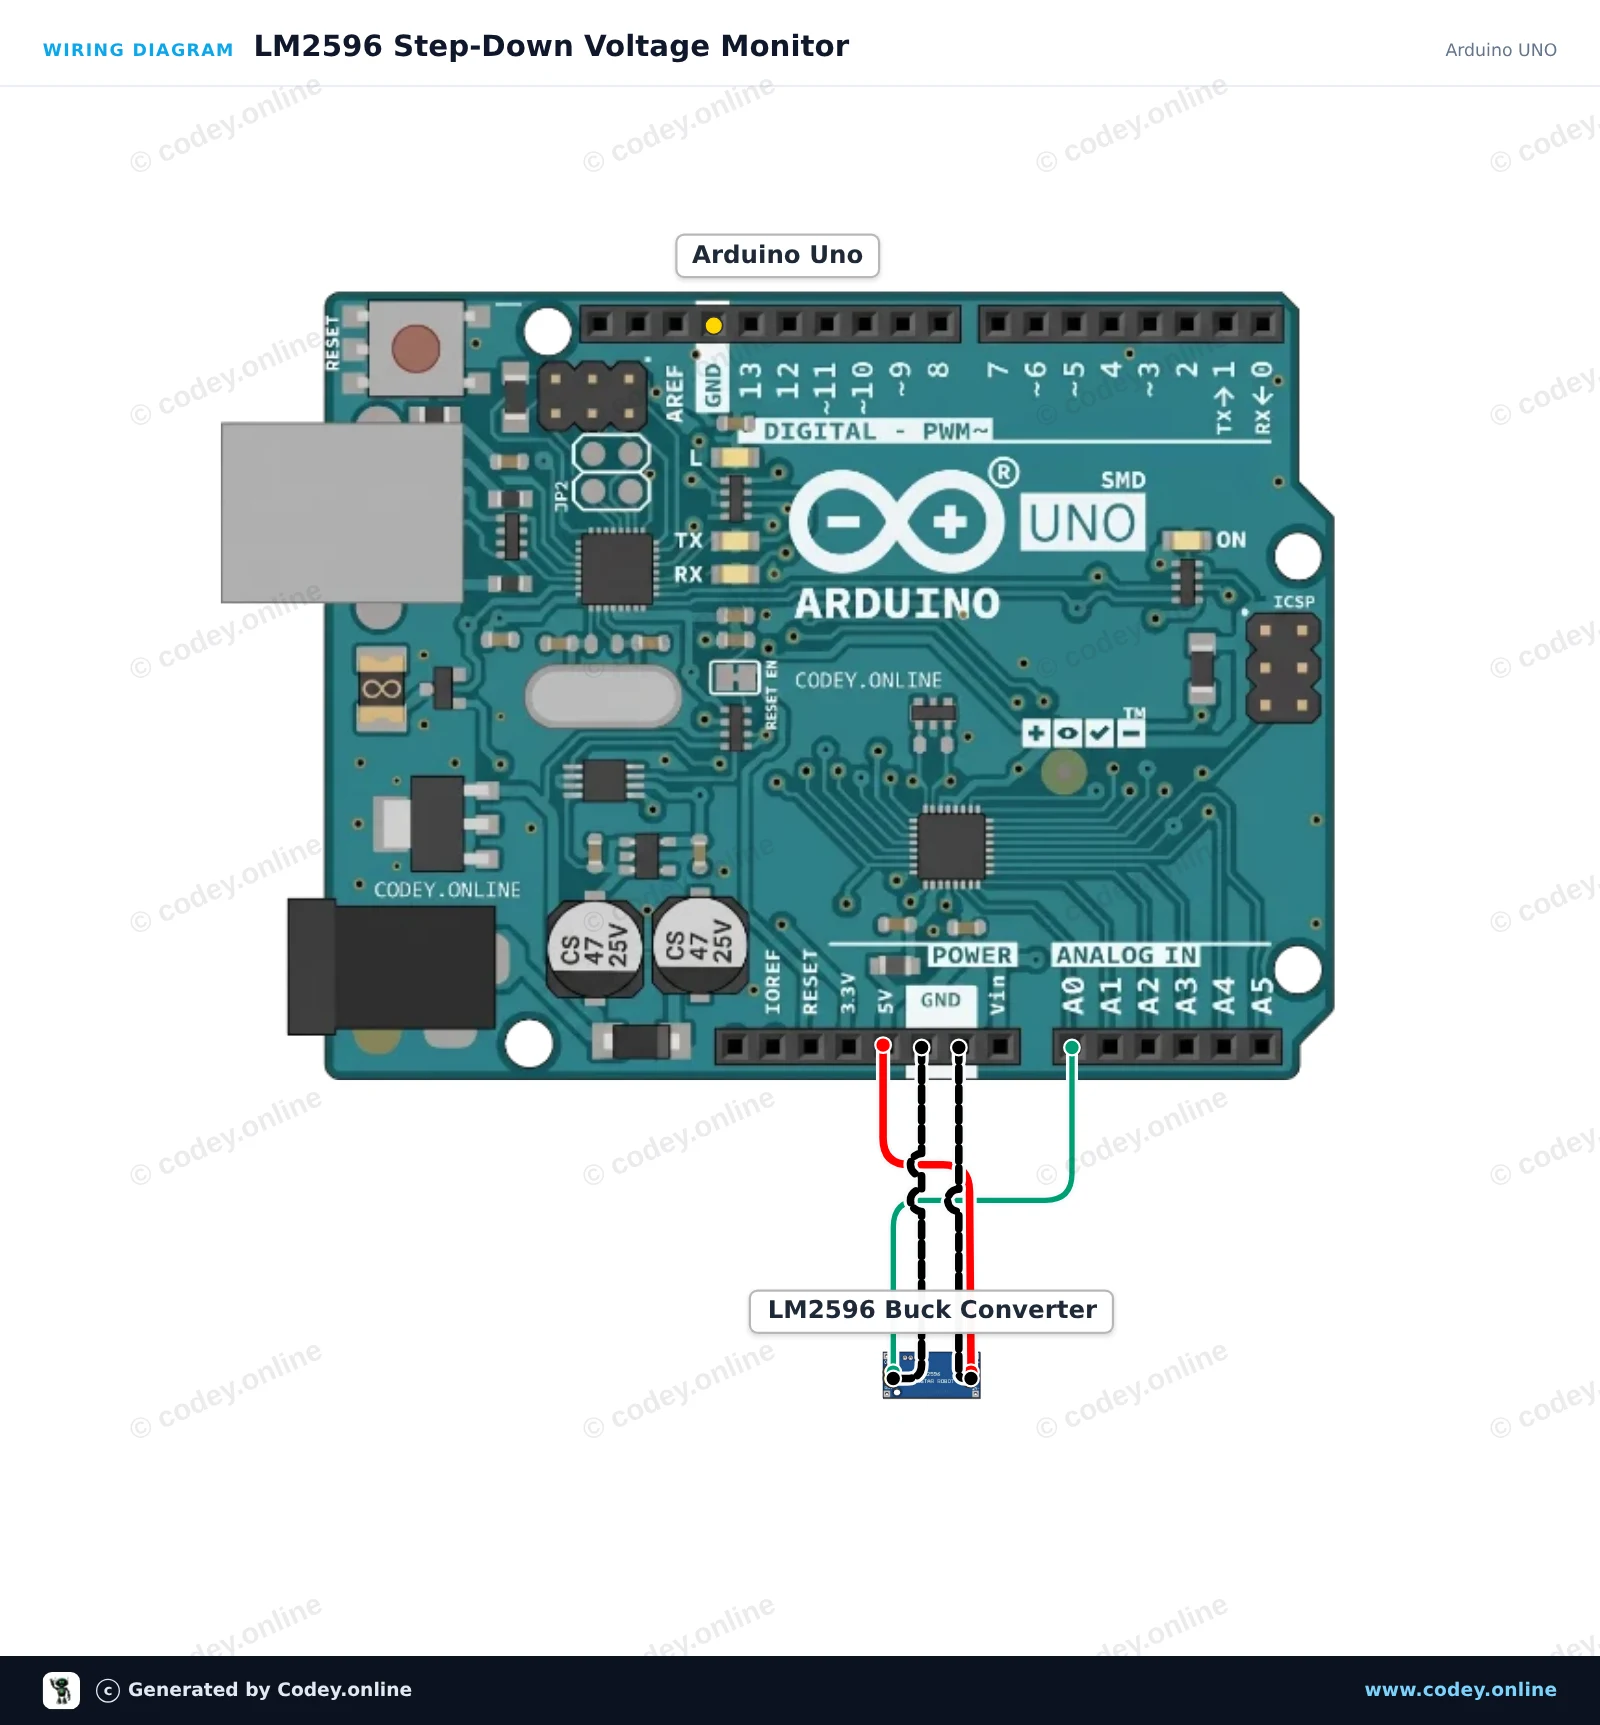
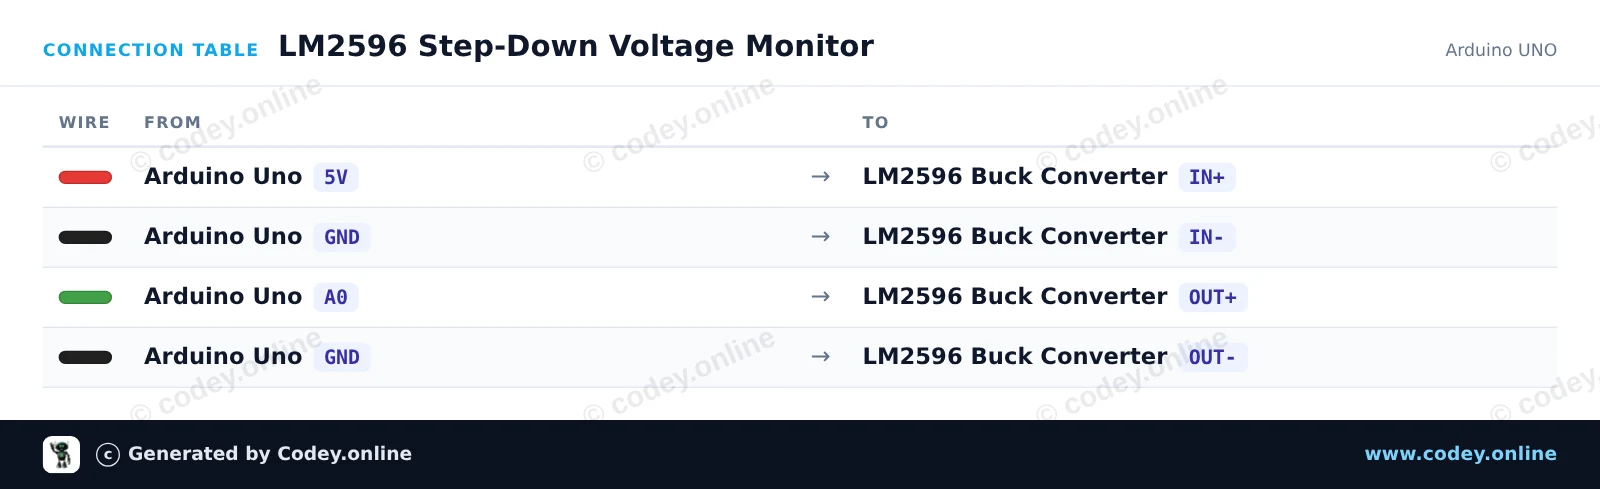
Έτσι συνδέεις το Ρυθμιζόμενο Step-down Module 3-40VDC προς 1.5-35VDC LM2596 σε ένα Arduino UNO ή ESP32, με ένα παράδειγμα sketch που μπορείς να ανεβάσεις αμέσως.
Αυτό το έργο παρακολουθεί την τάση εξόδου του ρυθμιζόμενου μετατροπέα step-down LM2596 χρησιμοποιώντας την αναλογική ακίδα A0. Τροφοδοτήστε το module από την ακίδα Arduino 5V/VIN και γυρίστε το ενσωματωμένο ποτενσιόμετρο για να δείτε τη μετρούμενη τάση να ενημερώνεται στο Serial Monitor (βεβαιωθείτε ότι η τάση εξόδου δεν υπερβαίνει τα 5V).
/*
 * ==================================================================
 *  Generated by Codey.online  —  https://www.codey.online
 * ==================================================================
 *  Project   : LM2596 Step-Down Voltage Monitor
 *  Board     : Arduino UNO (arduino:avr:uno)
 *  Parts     : Adjustable Step-down Module 3-40VDC 1.5-35VDC LM2596
 *  Libraries : none (built-in)
 *
 *  Codey Online is an AI-powered browser IDE for Arduino and ESP32.
 *  Describe your project and Codey writes the code, draws the wiring
 *  diagram and uploads it to your board, straight from the browser.
 *  This code is free to use, modify and share, without warranty.
 * ==================================================================
 */

// LM2596 Buck Converter Voltage Monitor
// Reads the regulated output on analog pin A0.
// Note: Keep the output voltage at or below 5.0V to protect the analog pin.

const int sensePin = A0;

void setup() {
  Serial.begin(115200);
  while (!Serial) {
    ; // Wait for Serial Monitor
  }
  Serial.println(F("LM2596 Step-Down Voltage Monitor Initialized"));
  Serial.println(F("Adjust the trimmer potentiometer on the module."));
}

void loop() {
  int rawValue = analogRead(sensePin);
  float voltage = rawValue * (5.0 / 1023.0);

  Serial.print(F("ADC Value: "));
  Serial.print(rawValue);
  Serial.print(F(" | Output Voltage: "));
  Serial.print(voltage, 2);
  Serial.println(F(" V"));

  delay(500);
}Wiring diagram and example code generated by Codey.online — https://www.codey.online
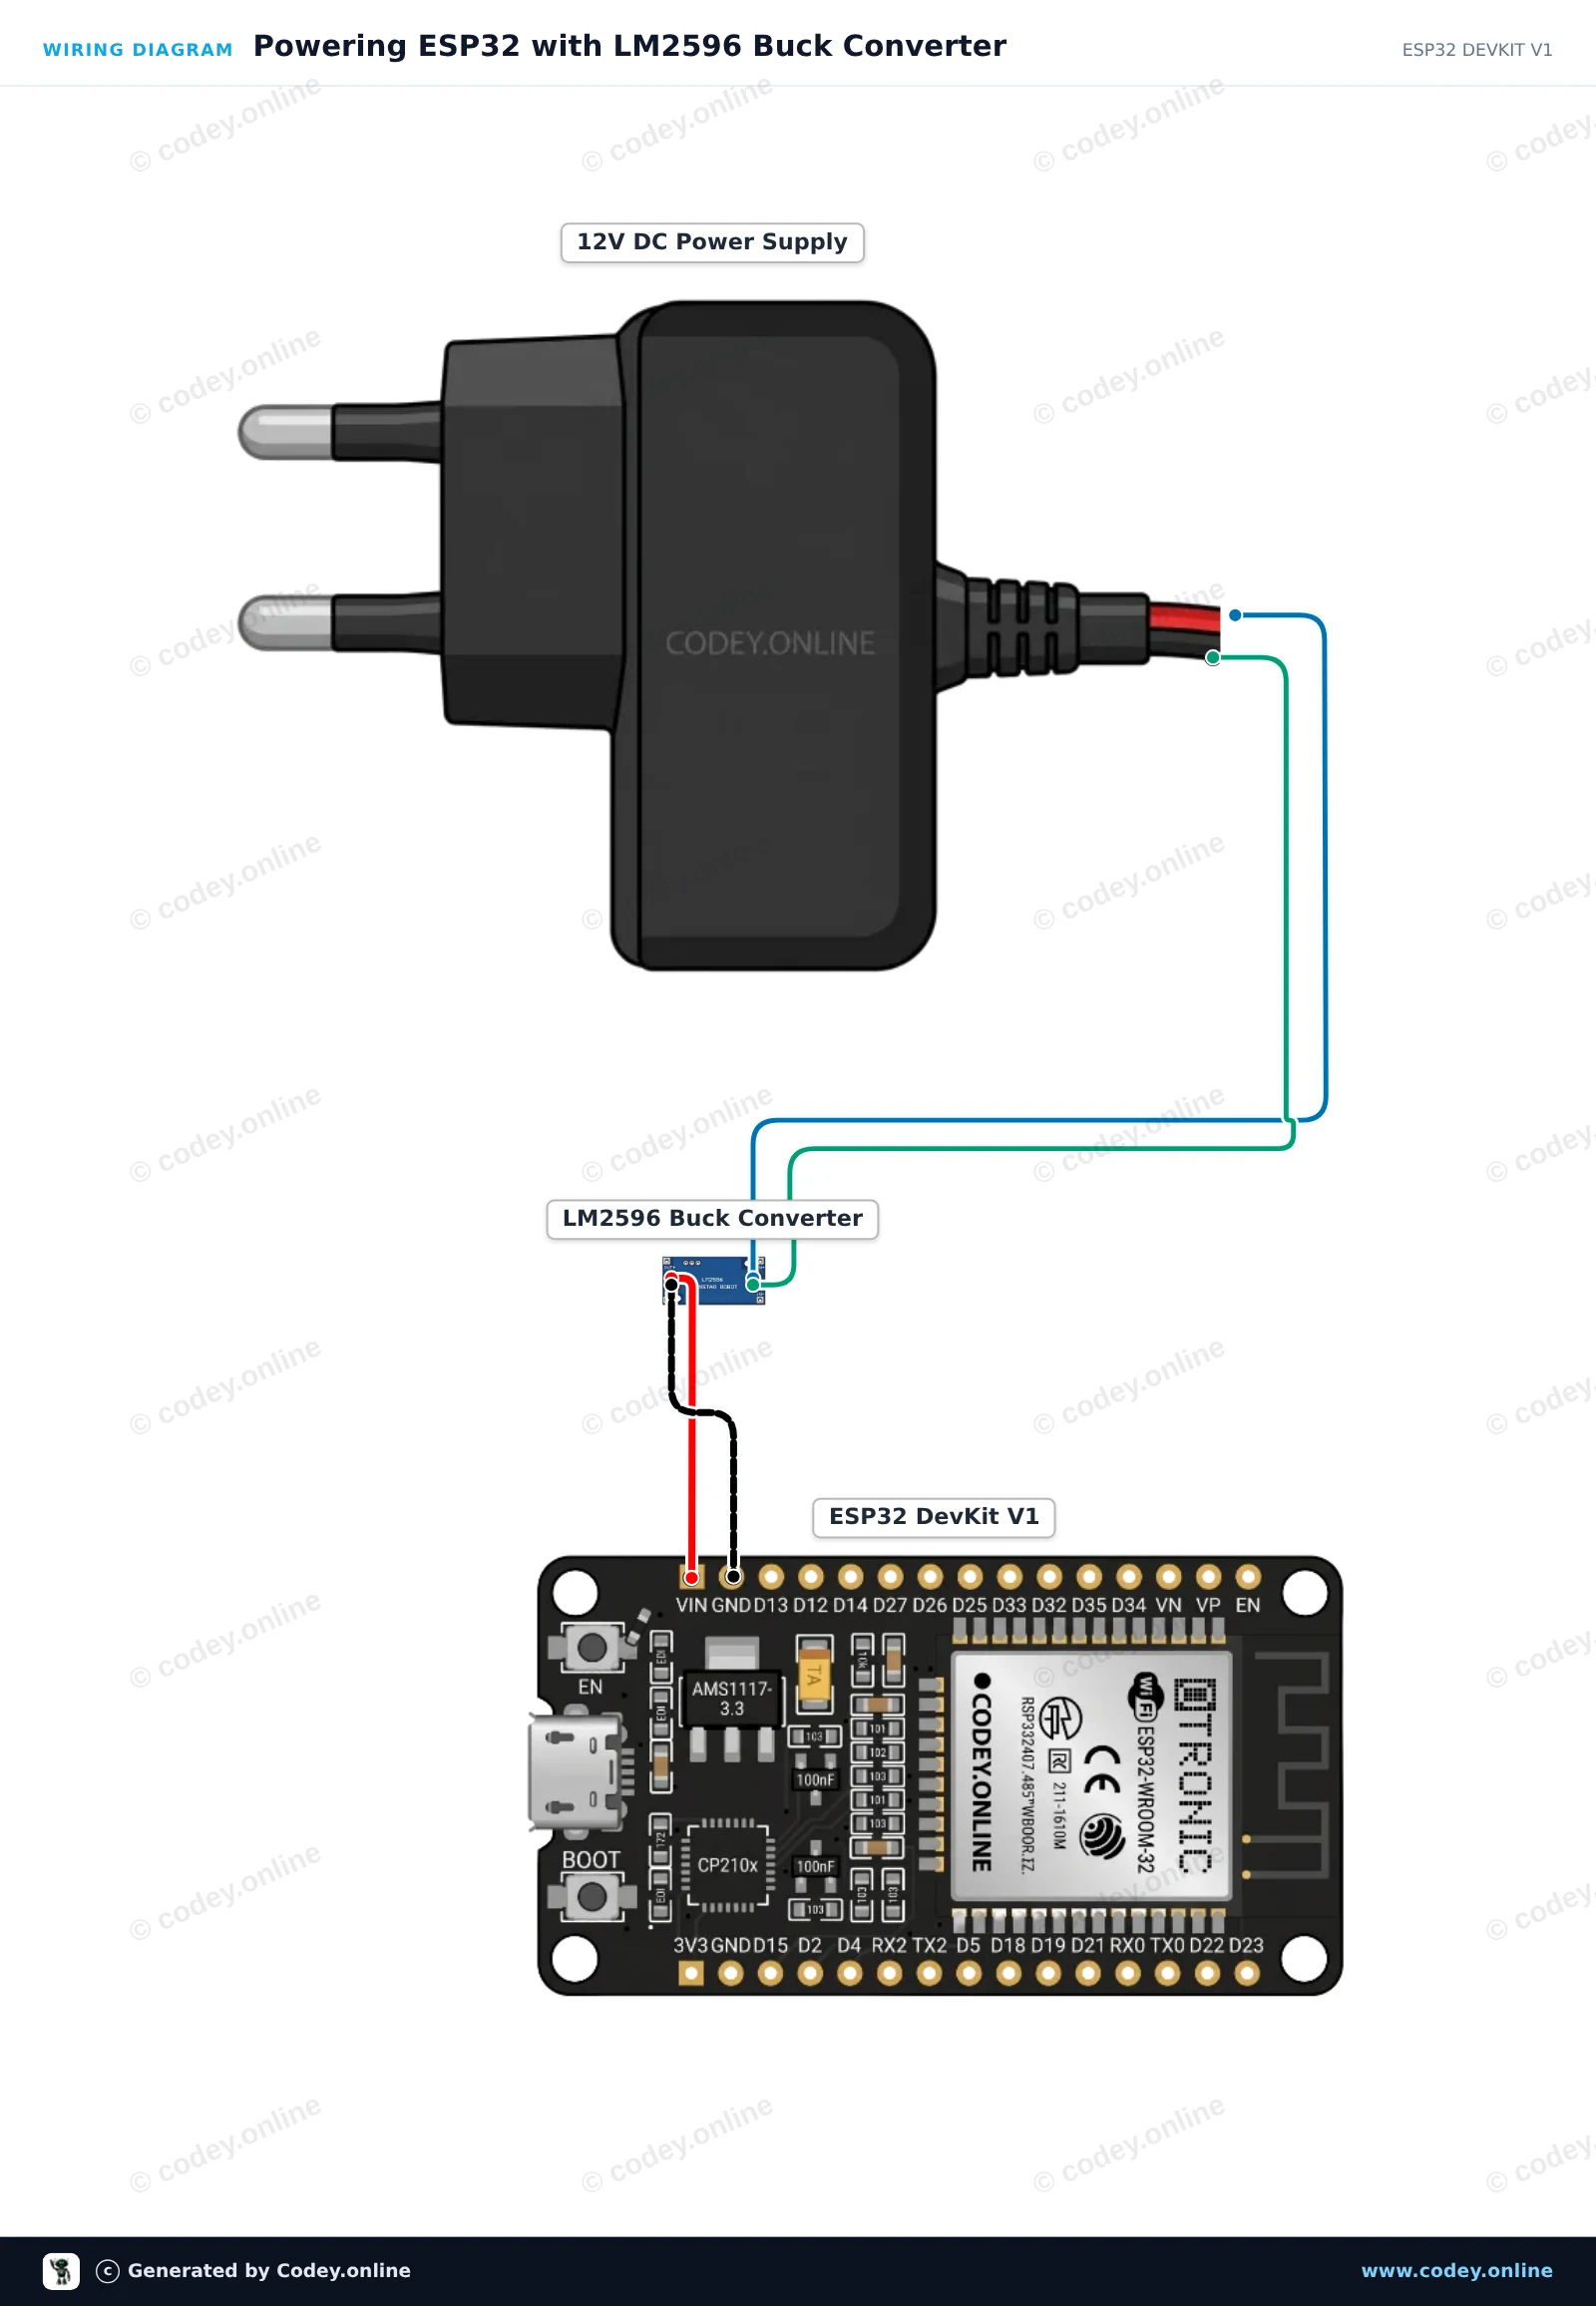
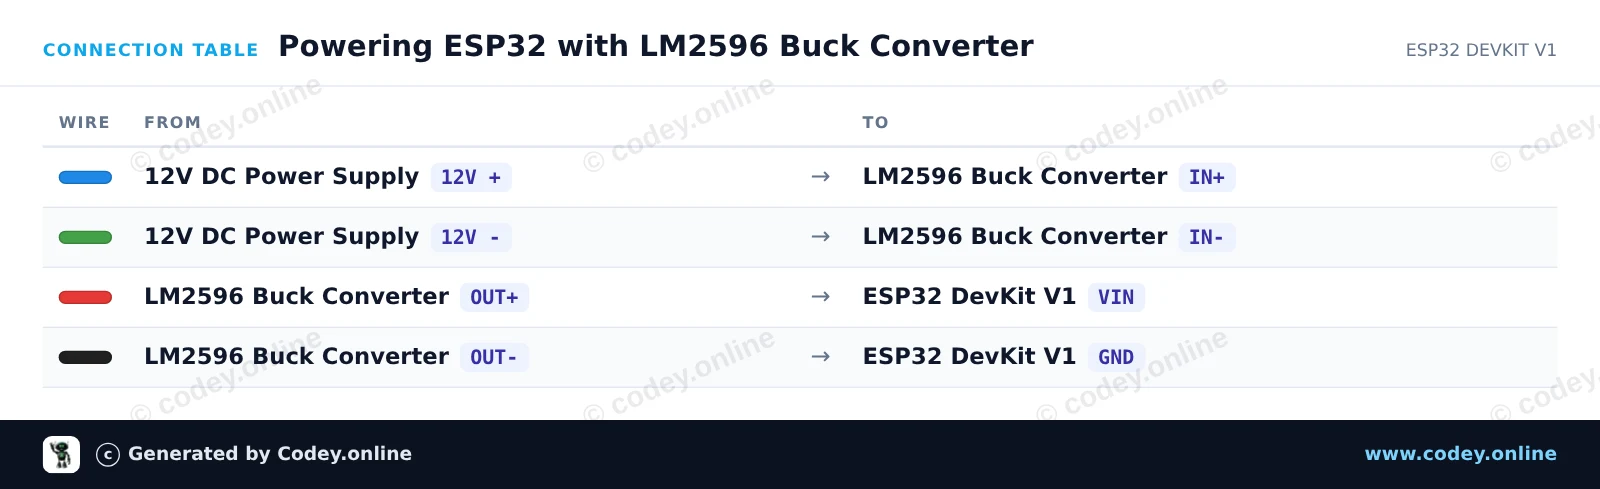
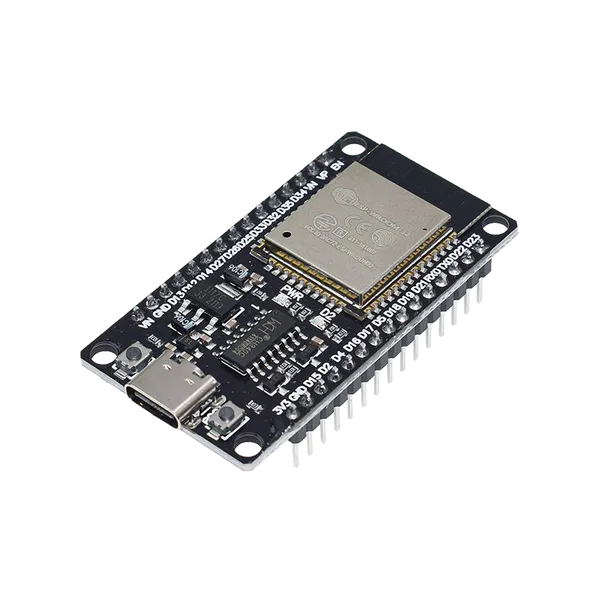
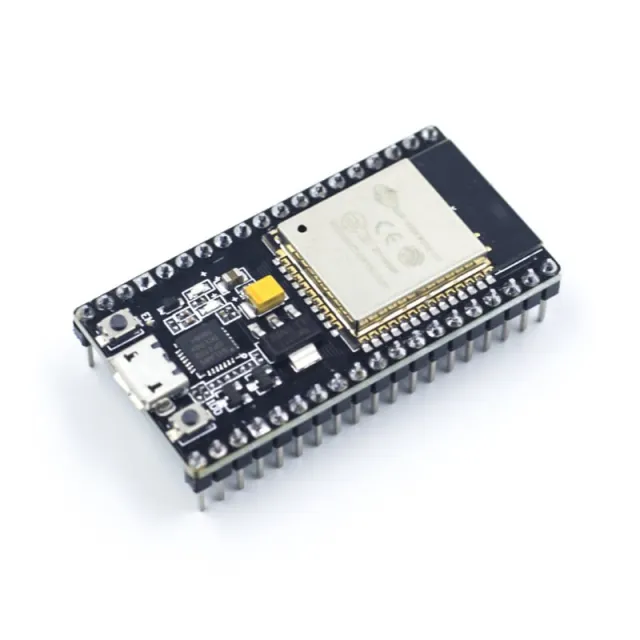
Αυτή η διάταξη χρησιμοποιεί το LM2596 step-down module για να ρυθμίσει μια πηγή τροφοδοσίας 12V DC σε 5V, ώστε να τροφοδοτήσει το ESP32 μέσω του VIN pin του. Πριν συνδέσετε την έξοδο στο ESP32, χρησιμοποιήστε ένα multimeter και γυρίστε το onboard trimmer potentiometer μέχρι η έξοδος να μετρά ακριβώς 5.0V. Το ESP32 αναβοσβήνει το onboard status LED του και αναφέρει το uptime μέσω Serial για να επιβεβαιώσει σταθερή λειτουργία.
/*
 * ==================================================================
 *  Generated by Codey.online  —  https://www.codey.online
 * ==================================================================
 *  Project   : Powering ESP32 with LM2596 Buck Converter
 *  Board     : ESP32 DEVKIT V1 (esp32:esp32:esp32doit-devkit-v1)
 *  Parts     : Adjustable Step-down Module 3-40VDC 1.5-35VDC LM2596
 *  Libraries : none (built-in)
 *
 *  Codey Online is an AI-powered browser IDE for Arduino and ESP32.
 *  Describe your project and Codey writes the code, draws the wiring
 *  diagram and uploads it to your board, straight from the browser.
 *  This code is free to use, modify and share, without warranty.
 * ==================================================================
 */

// Onboard LED on ESP32 DevKit V1 is on GPIO 2
const int LED_PIN = 2;

void setup() {
  Serial.begin(115200);
  pinMode(LED_PIN, OUTPUT);

  Serial.println("LM2596 Step-Down Module ESP32 Power Demo");
}

void loop() {
  digitalWrite(LED_PIN, HIGH);
  Serial.print("ESP32 running stably on buck converter power. Uptime: ");
  Serial.print(millis() / 1000);
  Serial.println(" s");
  delay(1000);

  digitalWrite(LED_PIN, LOW);
  delay(1000);
}Wiring diagram and example code generated by Codey.online — https://www.codey.online





 English
  Nederlands
  Frans
Frans  Deutsch
  Italiano
  Español
  Suomi
Suomi  Polski
  Dansk
Dansk  Български
  Čeština
  Hrvatski
  Svenska
  Aileen