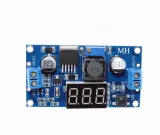
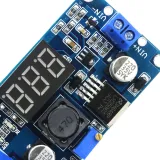
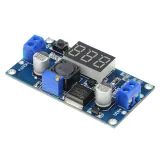
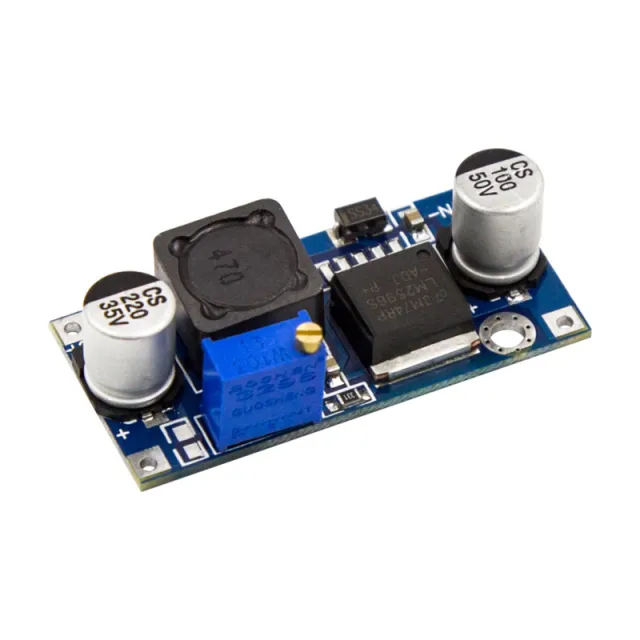
SKU: OT3593 Αριθμός είδους: NA068 EAN: 8720618489616

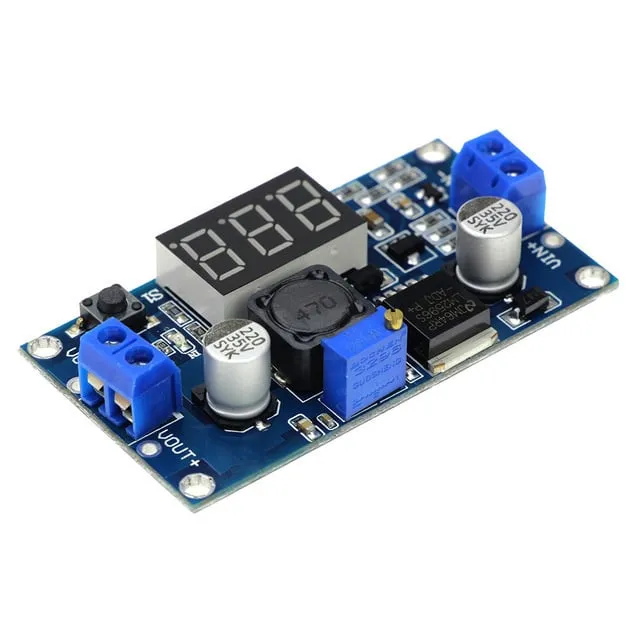
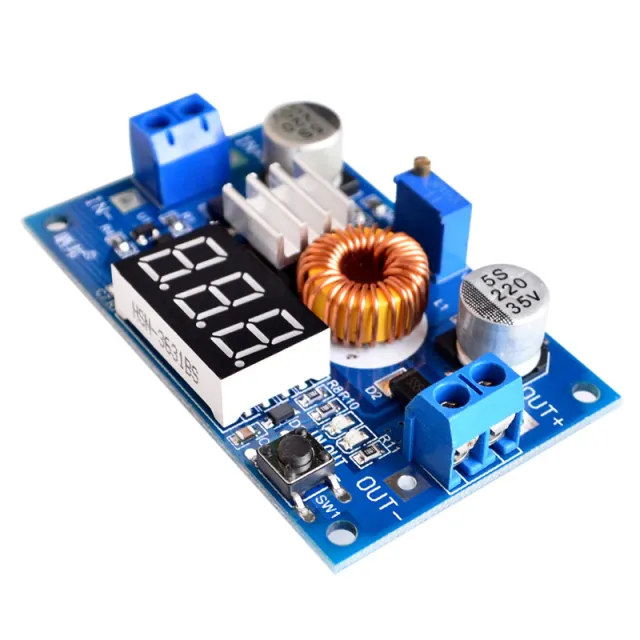
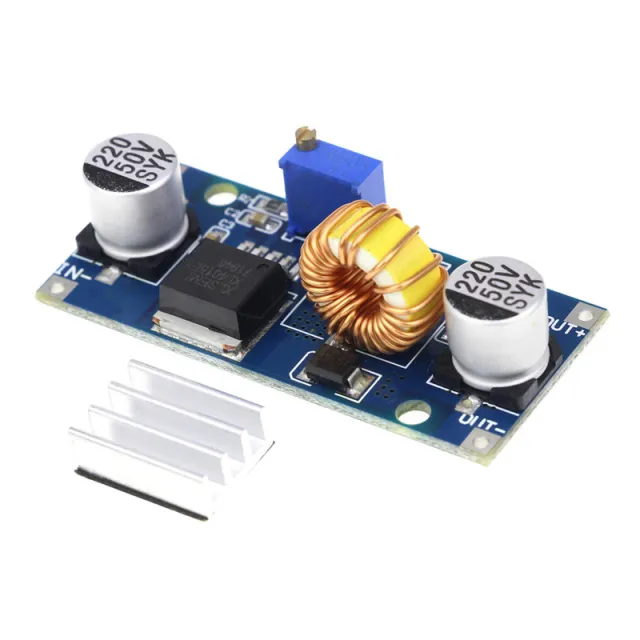
Τάση εισόδου 4,0 ~ 40V. (Η τάση εισόδου πρέπει να είναι υψηλότερη από την τάση εξόδου κατά 1,5 V ή περισσότερο)
Ρυθμιζόμενο εύρος τάσης εξόδου 1,25V ~ 37V, συνεχώς ρυθμιζόμενο. (Η τάση εισόδου πρέπει να είναι υψηλότερη από την τάση εξόδου κατά 1,5V)
Ρεύμα εξόδου 3A, συνιστάται χρήση εντός 2.0A, για υψηλό ρεύμα απαιτείται βελτίωση της απαγωγής θερμότητας.
Ισχύς εξόδου 20W, 15W, βελτιώστε την απαγωγή θερμότητας.
Υψηλή απόδοση μετατροπής, κατά μέσο όρο 88% (η απόδοση σχετίζεται με την τάση εισόδου και εξόδου, το ρεύμα και την πίεση)
Με προστασία αντίστροφης πολικότητας
Μέγεθος 6.1 * 3.4 * 12 cm (Μ * Π * Υ)
Διαστάσεις
Μήκος: 6,5cm
Πλάτος: 3,5cm
Ύψος: 1,2cm
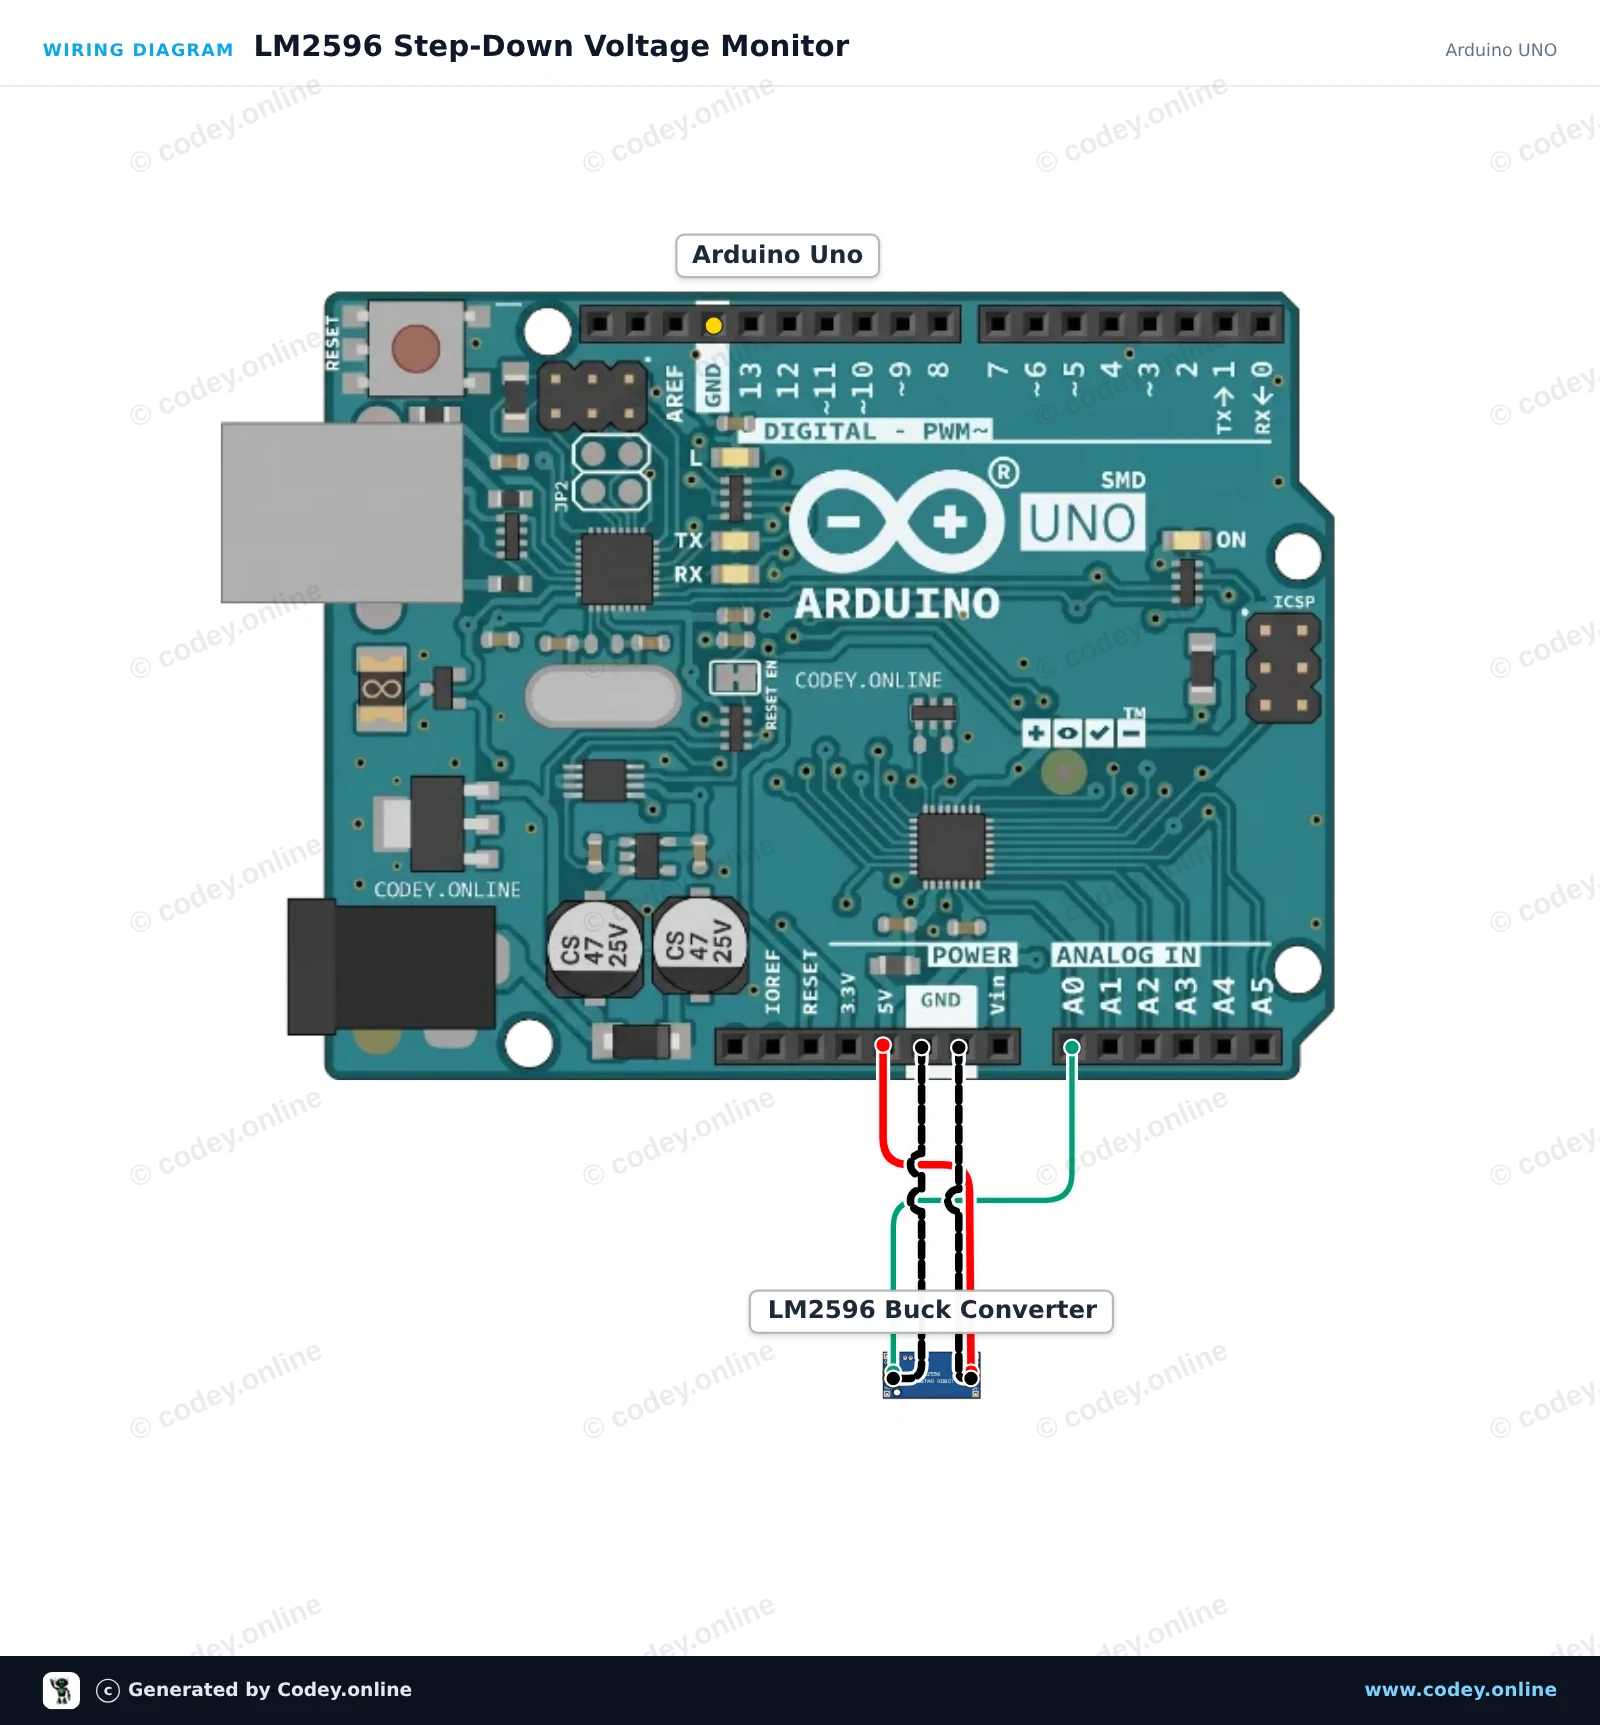
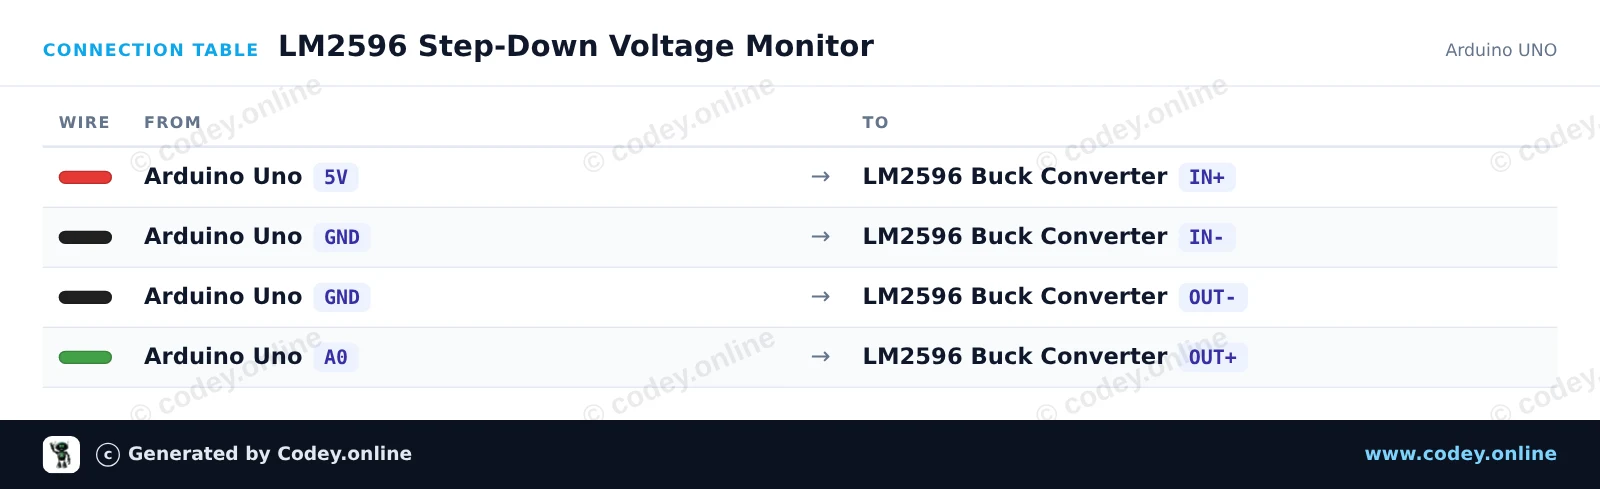
Έτσι συνδέεις το LM2596S Ρυθμιζόμενο Step-Down 4-40V -> 1.25-37V με ενσωματωμένη Οθόνη Βολτόμετρου σε ένα Arduino UNO ή ESP32, με ένα παράδειγμα sketch που μπορείς να ανεβάσεις αμέσως.
Αυτό το project μετρά την τάση εξόδου ενός module buck converter LM2596 χρησιμοποιώντας το αναλογικό input pin A0 του Arduino. Τροφοδοτήστε το input του module από το 5V rail του Arduino (ή από εξωτερική τροφοδοσία έως 40V) και γυρίστε το onboard potentiometer για να δείτε την μετρούμενη τάση εξόδου να αλλάζει στο Serial Monitor.
/*
 * ==================================================================
 *  Generated by Codey.online  —  https://www.codey.online
 * ==================================================================
 *  Project   : LM2596 Step-Down Voltage Monitor
 *  Board     : Arduino UNO (arduino:avr:uno)
 *  Parts     : Adjustable Step-down Module 3-40VDC 1.5-35VDC LM2596
 *  Libraries : none (built-in)
 *
 *  Codey Online is an AI-powered browser IDE for Arduino and ESP32.
 *  Describe your project and Codey writes the code, draws the wiring
 *  diagram and uploads it to your board, straight from the browser.
 *  This code is free to use, modify and share, without warranty.
 * ==================================================================
 */

const int voltagePin = A0;

void setup() {
  Serial.begin(115200);
  while (!Serial) {
    ; // Wait for serial port to connect
  }
  Serial.println(F("LM2596 Step-Down Module Monitor"));
  Serial.println(F("Turn the onboard brass potentiometer to adjust output voltage."));
  Serial.println(F("-----------------------------------------------------------"));
}

void loop() {
  // Read the analog voltage (0 to 1023 corresponds to 0V to 5V)
  int rawValue = analogRead(voltagePin);
  float voltage = (rawValue * 5.0) / 1023.0;

  Serial.print(F("Raw ADC: "));
  Serial.print(rawValue);
  Serial.print(F(" | Output Voltage: "));
  Serial.print(voltage, 2);
  Serial.println(F(" V"));

  delay(500);
}Wiring diagram and example code generated by Codey.online — https://www.codey.online
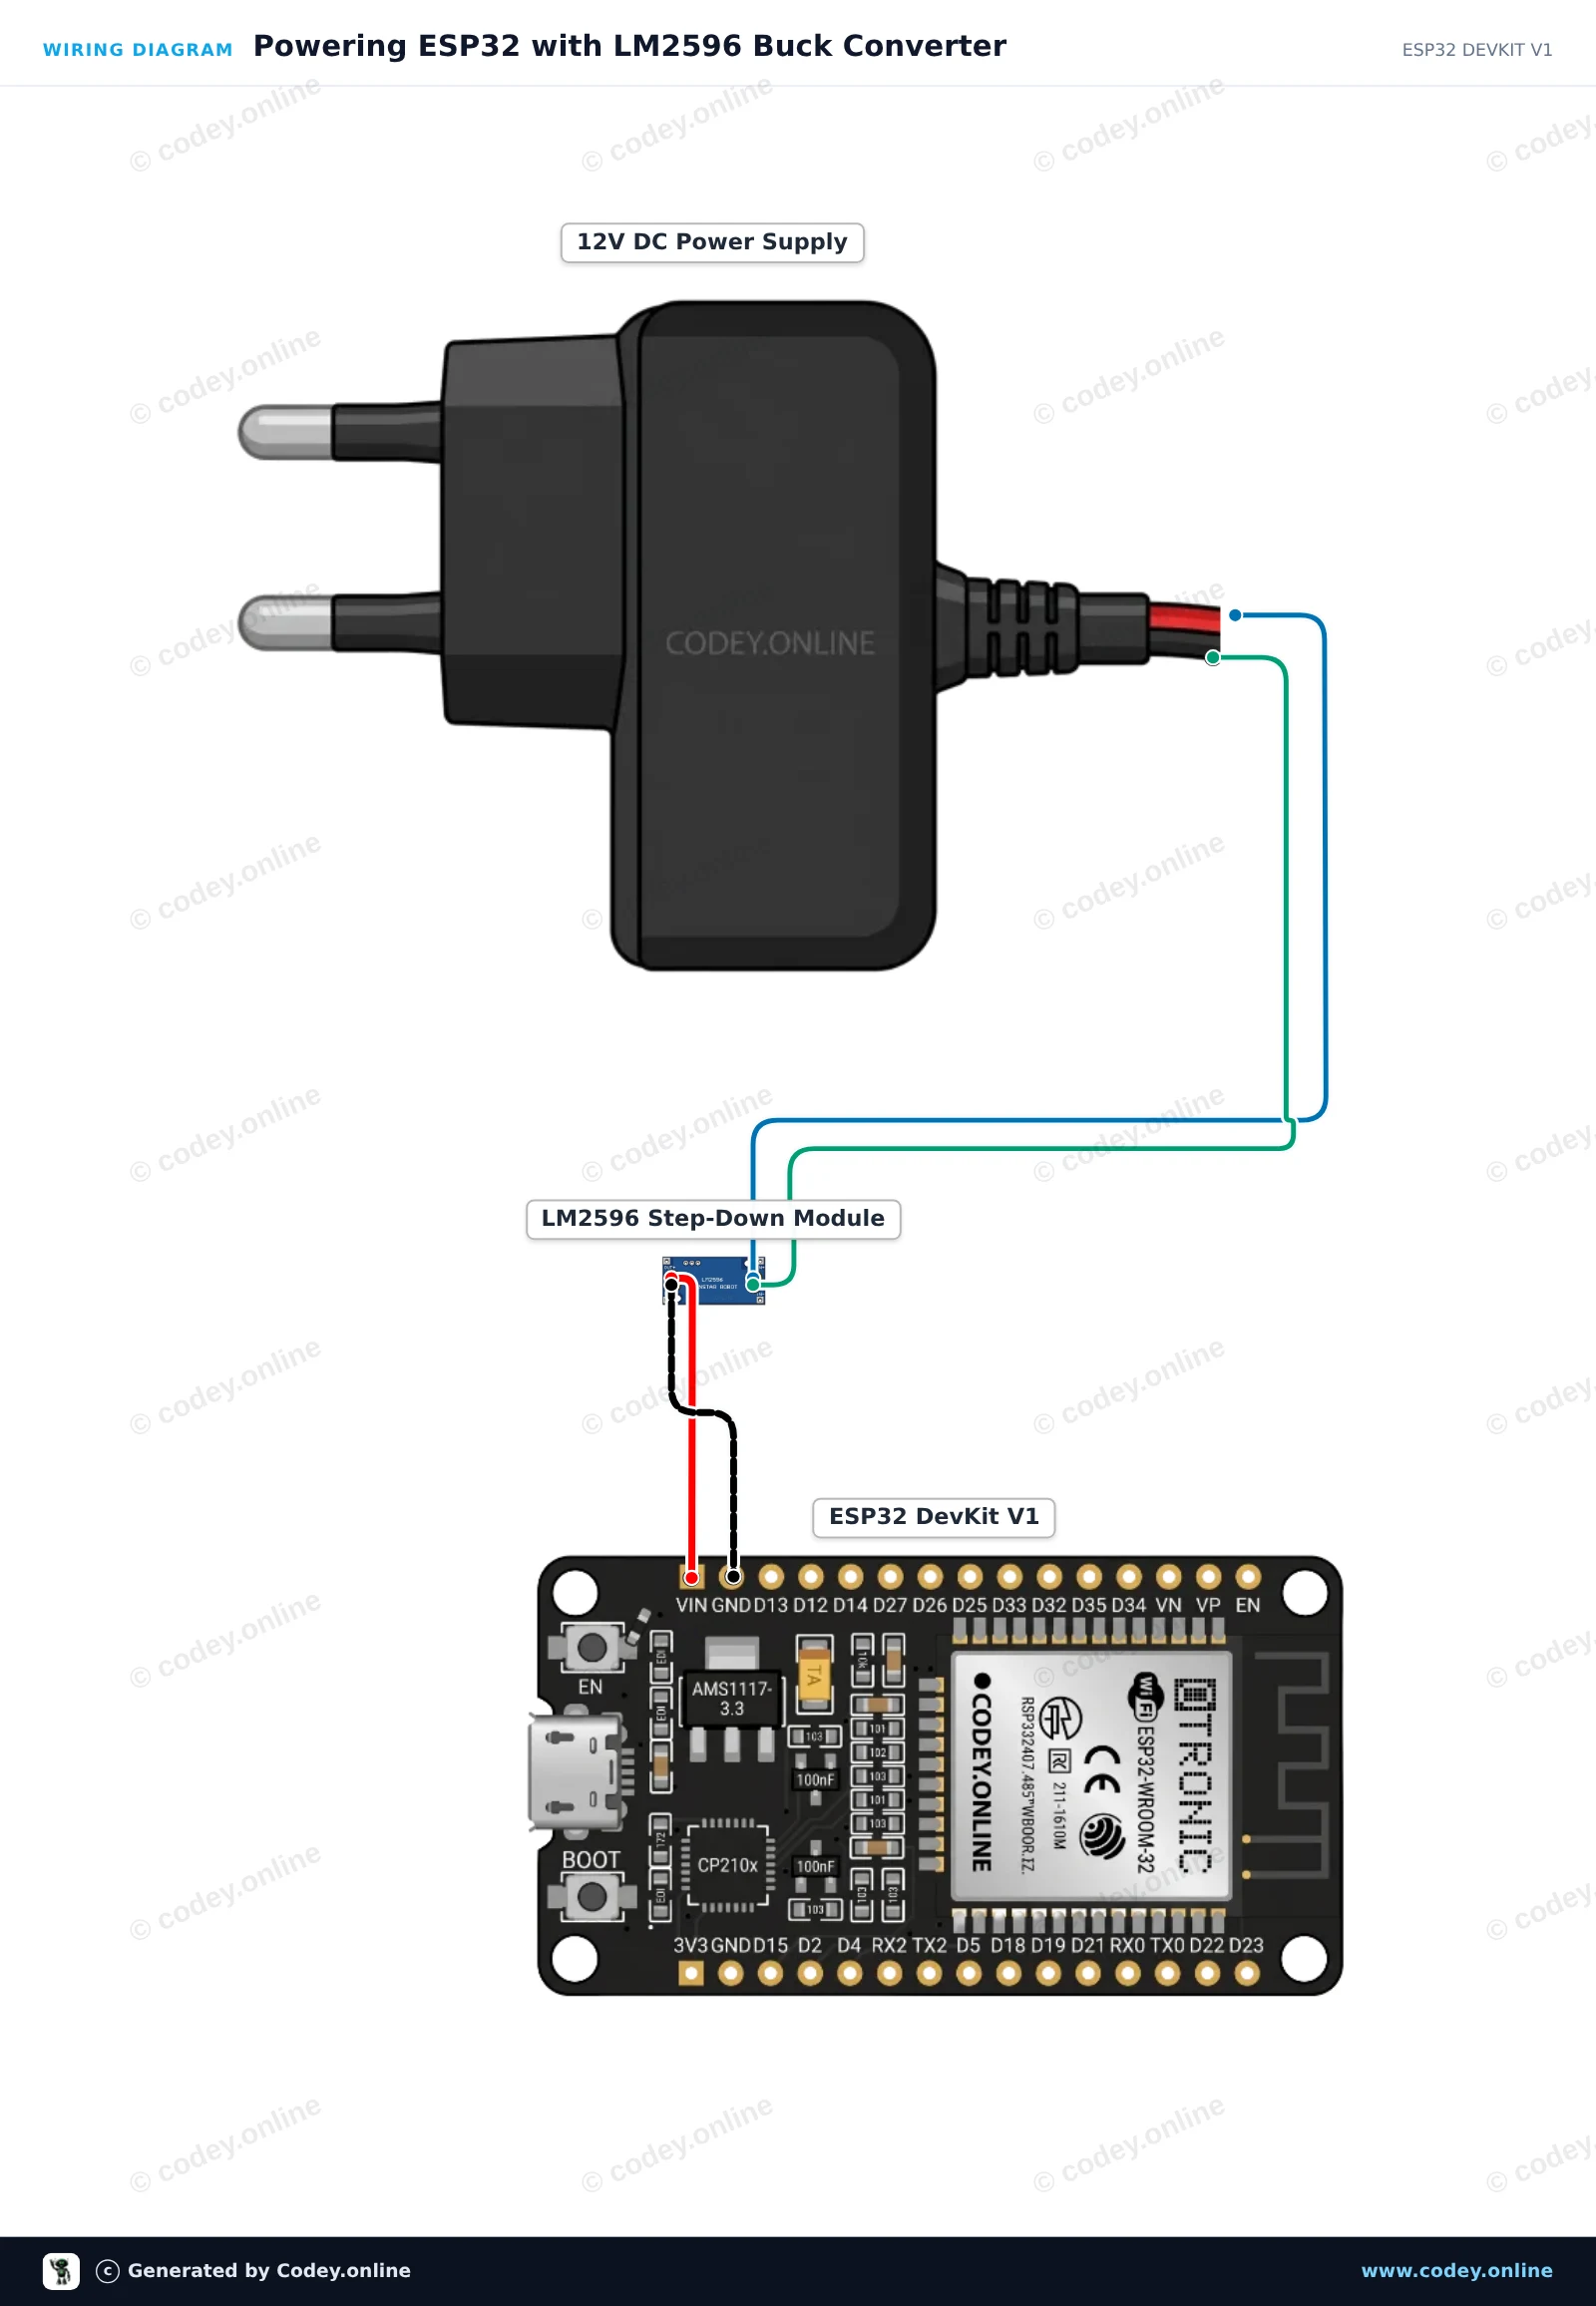
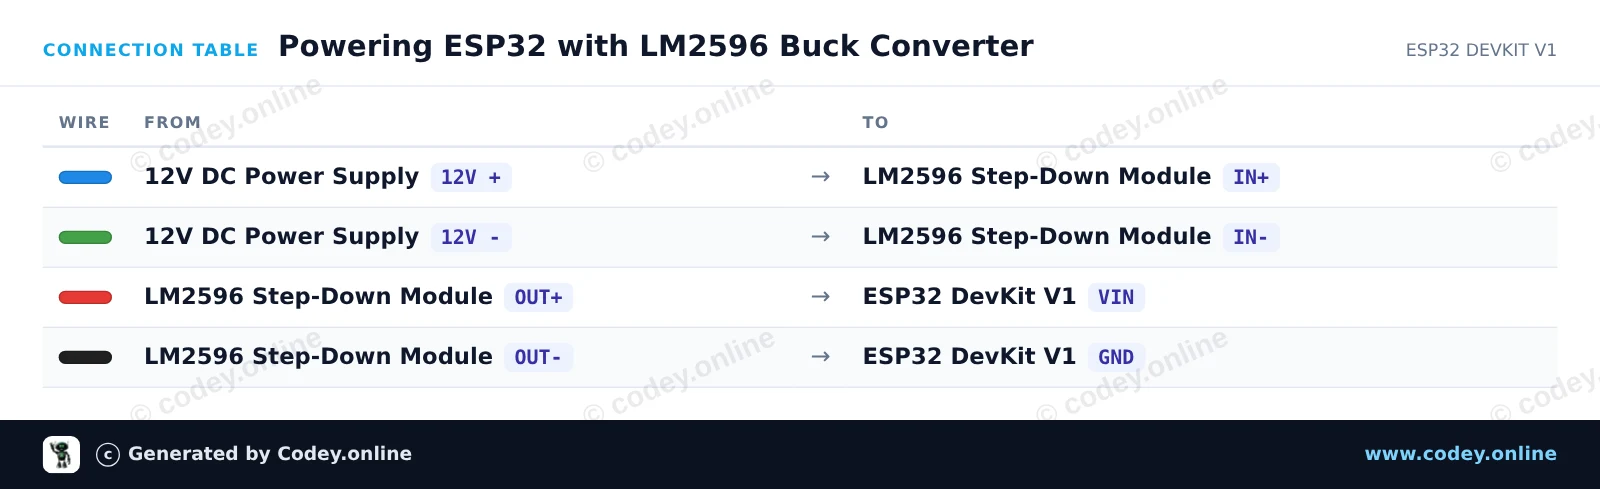
Αυτό το κύκλωμα χρησιμοποιεί ένα LM2596 step-down module για να ρυθμίσει μια είσοδο 12V DC σε σταθερά 5V για το pin VIN του ESP32. Πριν συνδέσετε το ESP32, ρυθμίστε το onboard trimmer μέχρι η τάση εξόδου να μετρά ακριβώς 5.0V με ένα multimeter. Μόλις συνδεθεί, το ESP32 αναβοσβήνει το onboard LED και εμφανίζει ένα μήνυμα heartbeat στο Serial Monitor.
/*
 * ==================================================================
 *  Generated by Codey.online  —  https://www.codey.online
 * ==================================================================
 *  Project   : Powering ESP32 with LM2596 Buck Converter
 *  Board     : ESP32 DEVKIT V1 (esp32:esp32:esp32doit-devkit-v1)
 *  Parts     : Adjustable Step-down Module 3-40VDC 1.5-35VDC LM2596
 *  Libraries : none (built-in)
 *
 *  Codey Online is an AI-powered browser IDE for Arduino and ESP32.
 *  Describe your project and Codey writes the code, draws the wiring
 *  diagram and uploads it to your board, straight from the browser.
 *  This code is free to use, modify and share, without warranty.
 * ==================================================================
 */

const int LED_PIN = 2;
unsigned long counter = 0;

void setup() {
  Serial.begin(115200);
  pinMode(LED_PIN, OUTPUT);

  Serial.println("LM2596 Step-Down Powered ESP32 Started!");
  Serial.println("Ensure LM2596 output was calibrated to 5.0V before connecting to VIN.");
}

void loop() {
  digitalWrite(LED_PIN, HIGH);
  delay(500);
  digitalWrite(LED_PIN, LOW);
  delay(500);

  counter++;
  Serial.print("ESP32 running stably on buck regulator. Heartbeat count: ");
  Serial.println(counter);
}Wiring diagram and example code generated by Codey.online — https://www.codey.online





 English
  Nederlands
  Frans
Frans  Deutsch
  Italiano
  Español
  Suomi
Suomi  Polski
  Dansk
Dansk  Български
  Čeština
  Hrvatski
  Svenska
  Aileen