SKU: OT822-C66 Αριθμός είδους: AA413 EAN: 2268898153460

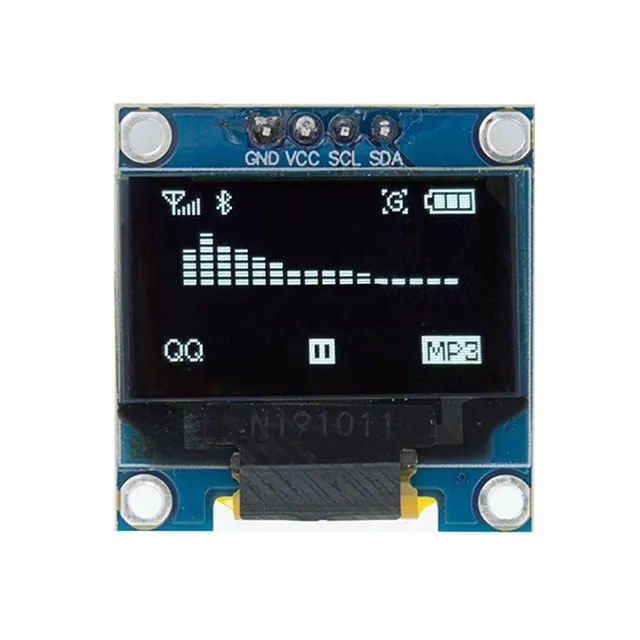
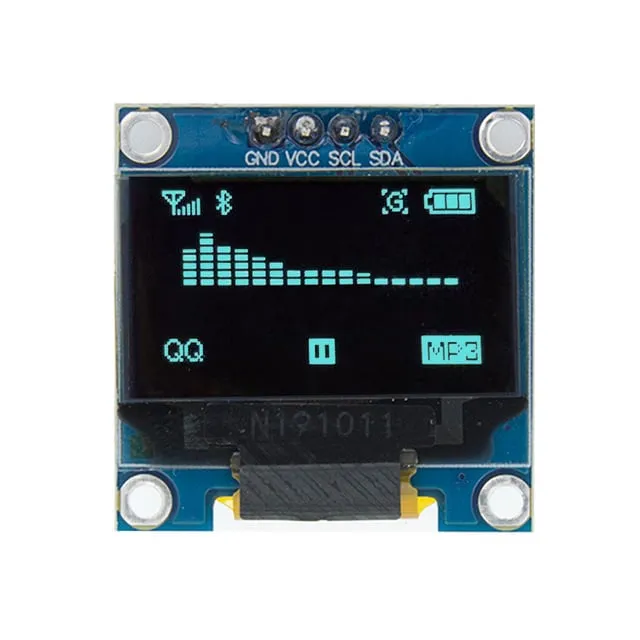
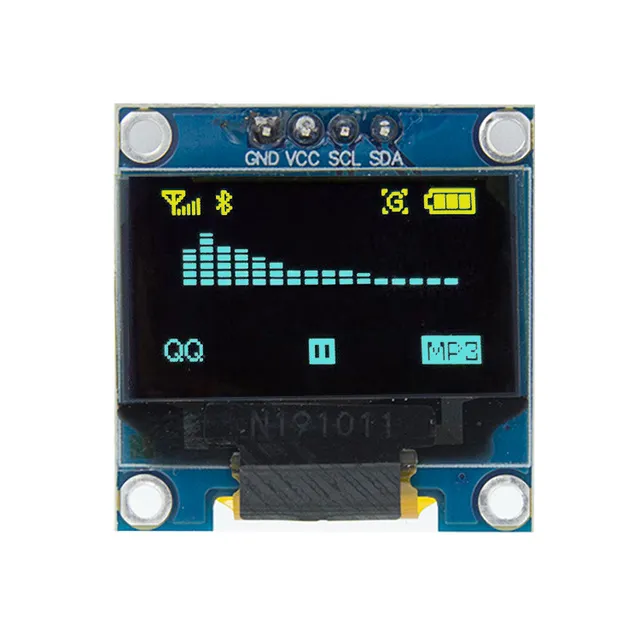
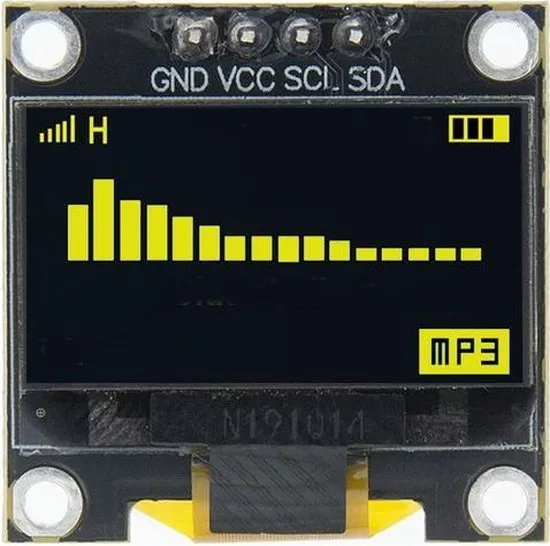
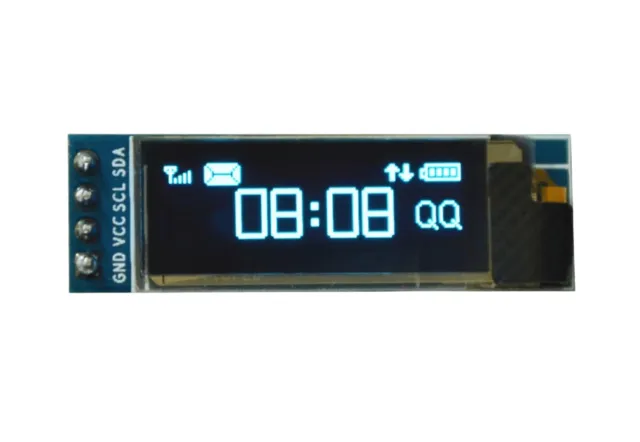
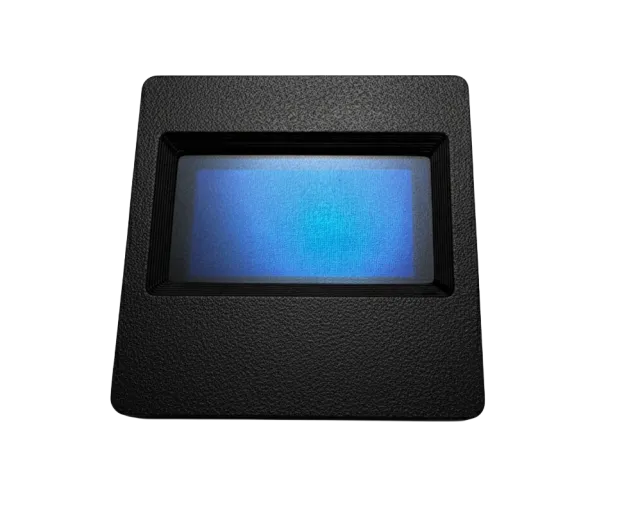
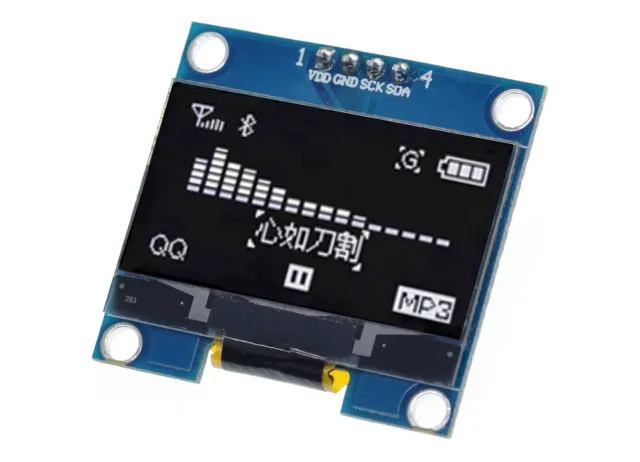
Μίνι οθονίτσα OLED 0,96 inch. Κρυστάλλινη εικόνα με ανάλυση 128x64 pixels.
Λειτουργεί με τροφοδοσία 3v-5v. Ιδανική για έργα Arduino ή ESP32 / ESP8266.
Οι διαστάσεις αυτής της πλακέτας είναι μόλις 26,1 x 26,1 x 3,2mm.
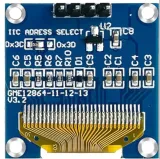
Υπάρχουν 2 i2c διευθύνσεις που μπορούν να επιλεγούν αλλάζοντας την αντίσταση στο πίσω μέρος.
Οι διαθέσιμες διευθύνσεις είναι: 0x3C (default) και x3D
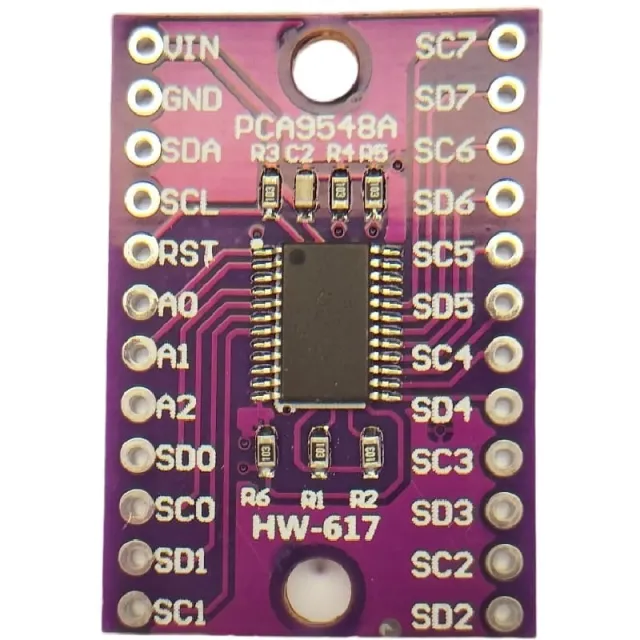
Αν θέλετε να ελέγξετε πολλαπλές OLED οθόνες ή αν δεν θέλετε να κολλήσετε το SMD, τότε μέσω ενός i2c mutliplexer μπορείτε επίσης να ελέγξετε έως και 8x i2C οθόνες με την ίδια διεύθυνση.
δείτε εδώ το Διάγραμμα σύνδεσης και τον κώδικα παραδείγματος >>>
Διαστάσεις
Μήκος: 2,61cm
Πλάτος: 2,61cm
Ύψος: 0,32cm
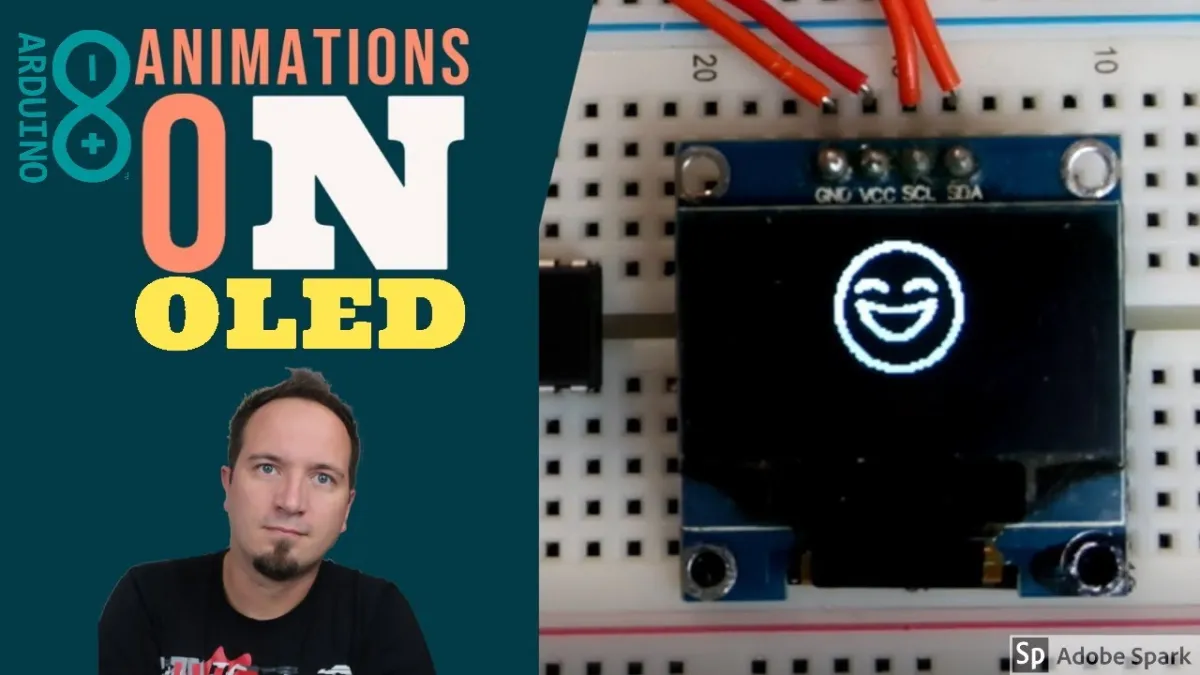
Με την αναπαραγωγή φορτώνεται το βίντεο από το YouTube.
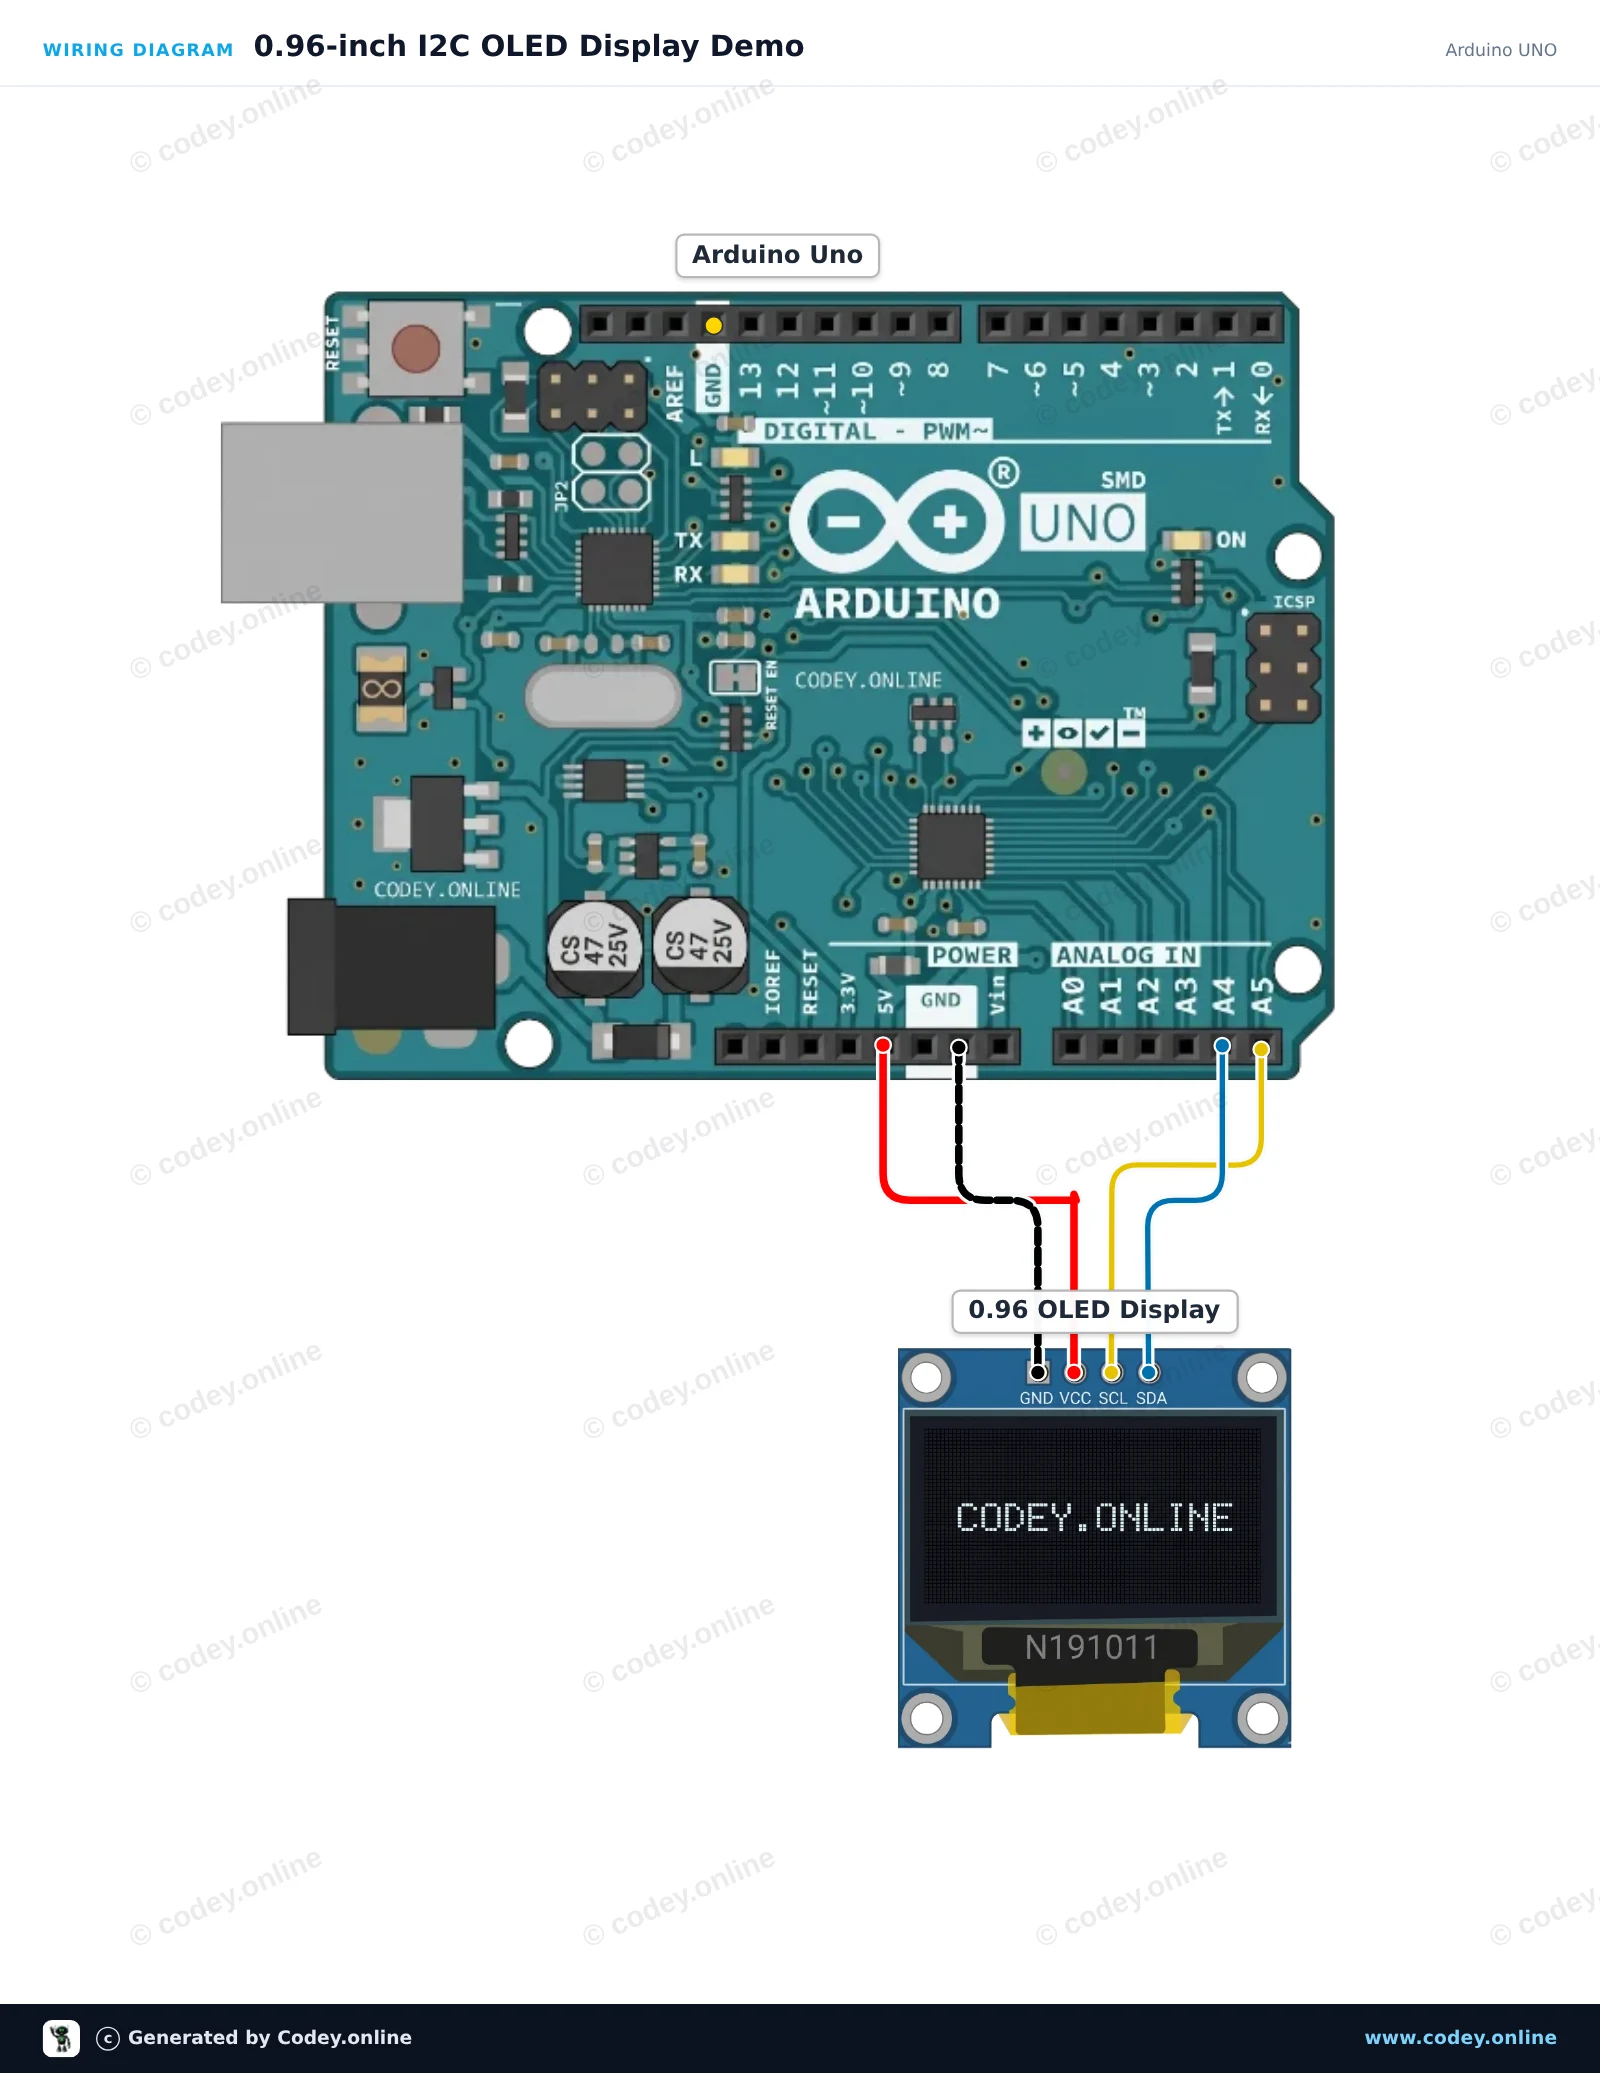
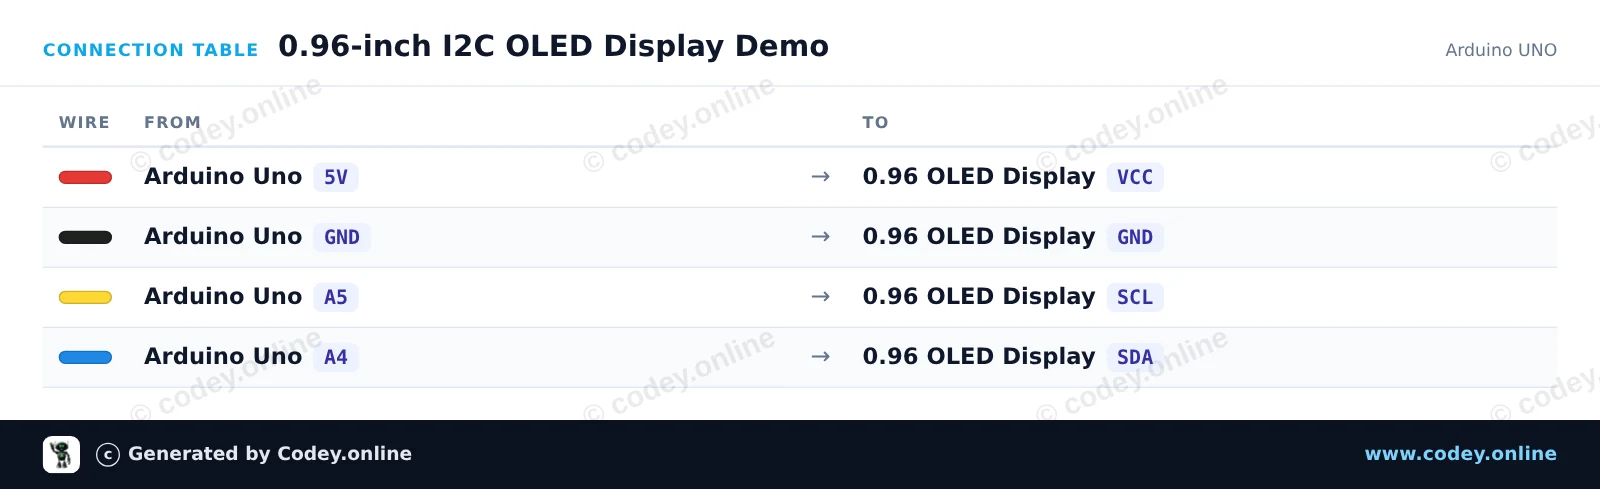
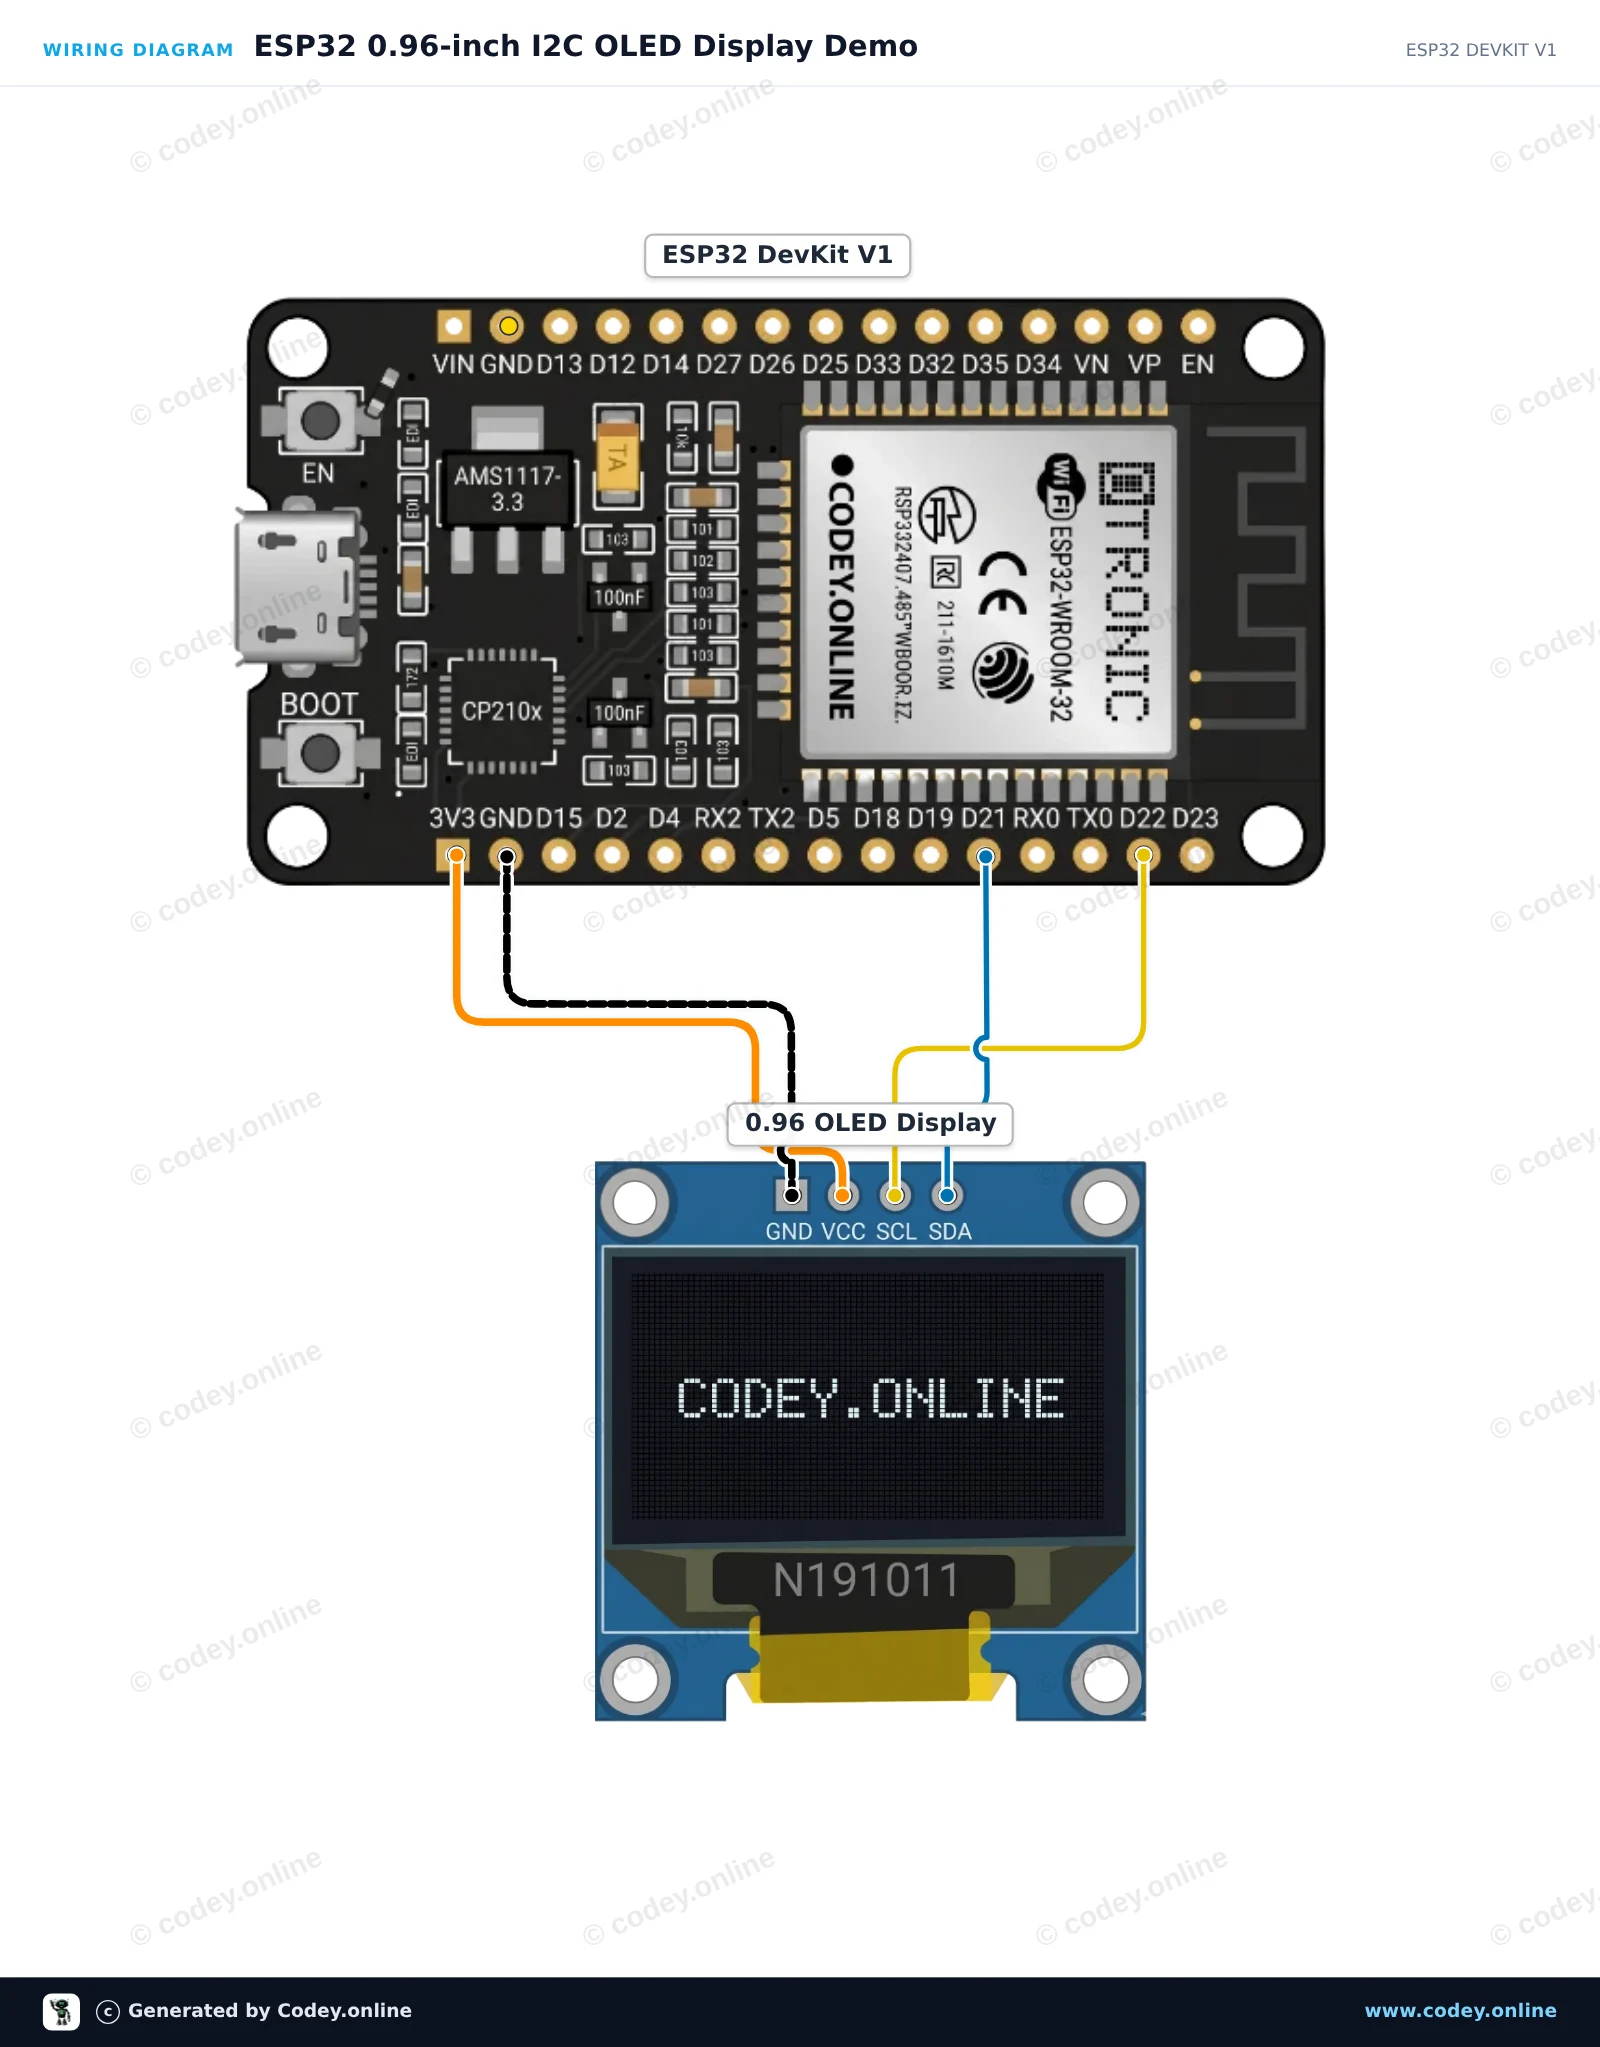
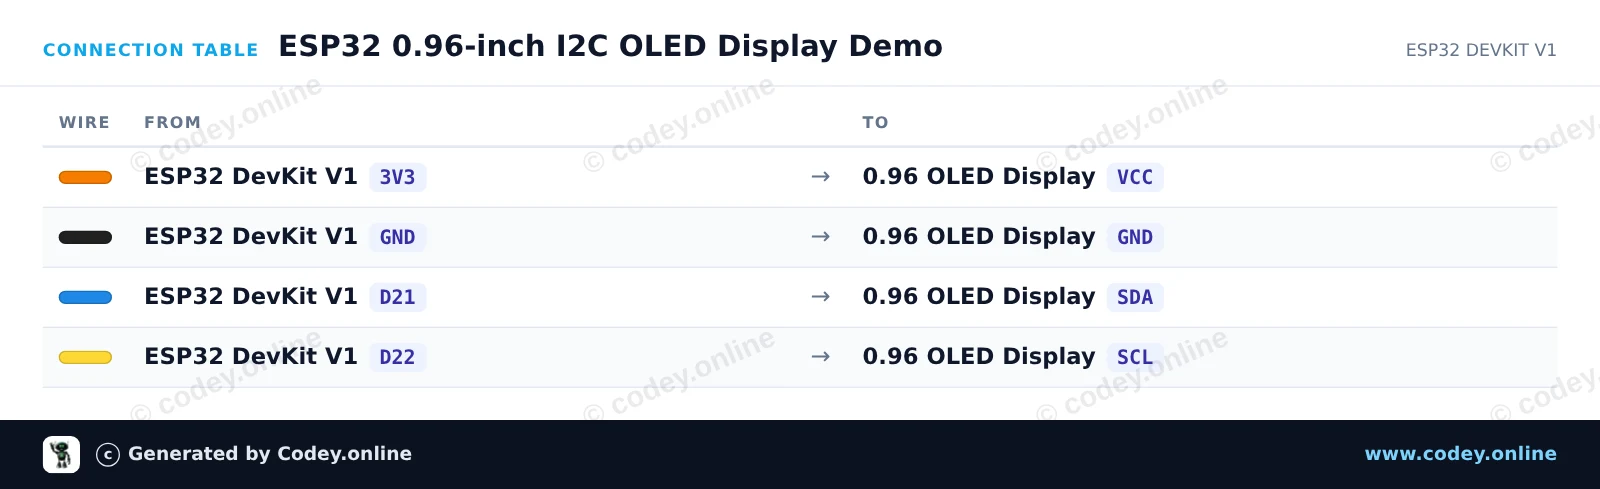
Έτσι συνδέεις το Μίνι OLED οθόνη λευκή 0.96 inch 128x64 I2C σε ένα Arduino UNO ή ESP32, με ένα παράδειγμα sketch που μπορείς να ανεβάσεις αμέσως.
Συνδέστε την οθόνη OLED I2C 128x64 0,96 ιντσών απευθείας στις ακίδες I2C του Arduino Uno (A4 για SDA, A5 για SCL). Αυτό το sketch χρησιμοποιεί τυπικές εντολές I2C για να αρχικοποιήσει τον ελεγκτή SSD1306 και εμφανίζει έναν ζωντανό μετρητή και κείμενο απευθείας, χωρίς να απαιτούνται εξωτερικές βιβλιοθήκες γραφικών.
/*
 * ==================================================================
 *  Generated by Codey.online  —  https://www.codey.online
 * ==================================================================
 *  Project   : 0.96-inch I2C OLED Display Demo
 *  Board     : Arduino UNO (arduino:avr:uno)
 *  Parts     : OLED Display 0.96 inch
 *  Libraries : none (built-in)
 *
 *  Codey Online is an AI-powered browser IDE for Arduino and ESP32.
 *  Describe your project and Codey writes the code, draws the wiring
 *  diagram and uploads it to your board, straight from the browser.
 *  This code is free to use, modify and share, without warranty.
 * ==================================================================
 */

#include <Wire.h>

const uint8_t OLED_ADDR = 0x3C;
const uint8_t OLED_WIDTH = 128;
const uint8_t OLED_HEIGHT = 64;
uint8_t buffer[1024];
int counter = 0;

const uint8_t font5x7[][5] = {
  {0x00, 0x00, 0x00, 0x00, 0x00}, // space
  {0x7E, 0x11, 0x11, 0x11, 0x7E}, // A
  {0x7F, 0x49, 0x49, 0x49, 0x36}, // B
  {0x3E, 0x41, 0x41, 0x41, 0x22}, // C
  {0x7F, 0x41, 0x41, 0x22, 0x1C}, // D
  {0x7F, 0x49, 0x49, 0x49, 0x41}, // E
  {0x7F, 0x09, 0x09, 0x09, 0x01}, // F
  {0x3E, 0x41, 0x49, 0x49, 0x7A}, // G
  {0x7F, 0x08, 0x08, 0x08, 0x7F}, // H
  {0x00, 0x41, 0x7F, 0x41, 0x00}, // I
  {0x7F, 0x40, 0x40, 0x40, 0x40}, // L
  {0x7F, 0x02, 0x0C, 0x02, 0x7F}, // M
  {0x7F, 0x04, 0x08, 0x10, 0x7F}, // N
  {0x3E, 0x41, 0x41, 0x41, 0x3E}, // O
  {0x7F, 0x09, 0x09, 0x09, 0x06}, // P
  {0x7F, 0x09, 0x19, 0x29, 0x46}, // R
  {0x46, 0x49, 0x49, 0x49, 0x31}, // S
  {0x01, 0x01, 0x7F, 0x01, 0x01}, // T
  {0x3F, 0x40, 0x40, 0x40, 0x3F}, // U
  {0x3E, 0x51, 0x49, 0x45, 0x3E}, // 0
  {0x00, 0x42, 0x7F, 0x40, 0x00}, // 1
  {0x42, 0x61, 0x51, 0x49, 0x46}, // 2
  {0x21, 0x41, 0x45, 0x4B, 0x31}, // 3
  {0x18, 0x14, 0x12, 0x7F, 0x10}, // 4
  {0x27, 0x45, 0x45, 0x45, 0x39}, // 5
  {0x3C, 0x4A, 0x49, 0x49, 0x30}, // 6
  {0x01, 0x71, 0x09, 0x05, 0x03}, // 7
  {0x36, 0x49, 0x49, 0x49, 0x36}, // 8
  {0x06, 0x49, 0x49, 0x29, 0x1E}, // 9
  {0x00, 0x36, 0x36, 0x00, 0x00}, // :
  {0x00, 0x60, 0x60, 0x00, 0x00}  // .
};

int charIndex(char c) {
  if (c >= 'a' && c <= 'z') c -= 32;
  if (c == ' ') return 0;
  if (c == 'A') return 1; if (c == 'B') return 2; if (c == 'C') return 3;
  if (c == 'D') return 4; if (c == 'E') return 5; if (c == 'F') return 6;
  if (c == 'G') return 7; if (c == 'H') return 8; if (c == 'I') return 9;
  if (c == 'L') return 10; if (c == 'M') return 11; if (c == 'N') return 12;
  if (c == 'O') return 13; if (c == 'P') return 14; if (c == 'R') return 15;
  if (c == 'S') return 16; if (c == 'T') return 17; if (c == 'U') return 18;
  if (c >= '0' && c <= '9') return 19 + (c - '0');
  if (c == ':') return 29;
  if (c == '.') return 30;
  return 0;
}

void sendCmd(uint8_t cmd) {
  Wire.beginTransmission(OLED_ADDR);
  Wire.write(0x00);
  Wire.write(cmd);
  Wire.endTransmission();
}

void sendCmd2(uint8_t cmd, uint8_t val) {
  Wire.beginTransmission(OLED_ADDR);
  Wire.write(0x00);
  Wire.write(cmd);
  Wire.write(val);
  Wire.endTransmission();
}

void clearDisplay() {
  memset(buffer, 0, sizeof(buffer));
}

void setPixel(int x, int y, bool state) {
  if (x < 0 || x >= OLED_WIDTH || y < 0 || y >= OLED_HEIGHT) return;
  int idx = x + (y / 8) * OLED_WIDTH;
  if (state) buffer[idx] |= (1 << (y % 8));
  else buffer[idx] &= ~(1 << (y % 8));
}

void printText(int x, int y, const char* str) {
  while (*str) {
    int idx = charIndex(*str++);
    for (int col = 0; col < 5; col++) {
      uint8_t line = font5x7[idx][col];
      for (int row = 0; row < 7; row++) {
        setPixel(x + col, y + row, (line >> row) & 1);
      }
    }
    x += 6;
  }
}

void updateDisplay() {
  sendCmd(0x20); sendCmd(0x00);
  sendCmd2(0x21, 0x00); sendCmd(0x7F);
  sendCmd2(0x22, 0x00); sendCmd(0x07);
  for (uint16_t i = 0; i < 1024; i += 16) {
    Wire.beginTransmission(OLED_ADDR);
    Wire.write(0x40);
    for (uint8_t j = 0; j < 16; j++) {
      Wire.write(buffer[i + j]);
    }
    Wire.endTransmission();
  }
}

void setup() {
  Serial.begin(115200);
  Wire.begin();
  delay(50);
  sendCmd(0xAE); sendCmd2(0xD5, 0x80); sendCmd2(0xA8, 0x3F);
  sendCmd2(0xD3, 0x00); sendCmd(0x40); sendCmd2(0x8D, 0x14);
  sendCmd(0xA1); sendCmd(0xC8); sendCmd2(0xDA, 0x12);
  sendCmd2(0x81, 0xCF); sendCmd2(0xD9, 0xF1); sendCmd2(0xDB, 0x40);
  sendCmd(0xA4); sendCmd(0xA6); sendCmd(0xAF);
  Serial.println(F("OLED Initialized"));
}

void loop() {
  clearDisplay();
  printText(0, 0, "OLED 0.96 INCH");
  printText(0, 16, "ARDUINO UNO");

  char buf[16];
  itoa(counter, buf, 10);
  printText(0, 32, "COUNT: ");
  printText(42, 32, buf);

  int barWidth = (counter % 120);
  for (int x = 0; x <= barWidth; x++) {
    for (int y = 48; y < 58; y++) {
      setPixel(x, y, true);
    }
  }

  updateDisplay();
  counter++;
  delay(100);
}Wiring diagram and example code generated by Codey.online — https://www.codey.online
Αυτό το έργο δείχνει πώς να συνδέσετε και να εμφανίσετε κείμενο και αριθμούς σε μια οθόνη OLED I2C 0.96-inch χρησιμοποιώντας το ESP32. Το sketch αρχικοποιεί την οθόνη και ενημερώνει έναν ζωντανό μετρητή κάθε δευτερόλεπτο. Βεβαιωθείτε ότι έχετε εγκαταστήσει τις βιβλιοθήκες Adafruit SSD1306 και Adafruit GFX πριν από το ανέβασμα.
/*
 * ==================================================================
 *  Generated by Codey.online  —  https://www.codey.online
 * ==================================================================
 *  Project   : ESP32 0.96-inch I2C OLED Display Demo
 *  Board     : ESP32 DEVKIT V1 (esp32:esp32:esp32doit-devkit-v1)
 *  Parts     : OLED Display 0.96 inch
 *  Libraries : Adafruit SSD1306 2.5.16, Adafruit GFX Library 1.12.6
 *
 *  Codey Online is an AI-powered browser IDE for Arduino and ESP32.
 *  Describe your project and Codey writes the code, draws the wiring
 *  diagram and uploads it to your board, straight from the browser.
 *  This code is free to use, modify and share, without warranty.
 * ==================================================================
 */

#include <Wire.h>
#include <Adafruit_GFX.h>
#include <Adafruit_SSD1306.h>

#define SCREEN_WIDTH 128
#define SCREEN_HEIGHT 64
#define OLED_RESET    -1
#define SCREEN_ADDRESS 0x3C

Adafruit_SSD1306 display(SCREEN_WIDTH, SCREEN_HEIGHT, &Wire, OLED_RESET);

int counter = 0;

void setup() {
  Serial.begin(115200);

  // Initialize I2C on ESP32 default pins (SDA: 21, SCL: 22)
  Wire.begin(21, 22);

  if (!display.begin(SSD1306_SWITCHCAPVCC, SCREEN_ADDRESS)) {
    Serial.println(F("SSD1306 allocation failed"));
    while (true); // Freeze
  }

  display.clearDisplay();
  display.setTextColor(SSD1306_WHITE);
  display.setTextSize(1);
  display.setCursor(0, 0);
  display.println("ESP32 OLED Test");
  display.display();
  delay(1500);
}

void loop() {
  display.clearDisplay();

  // Header text
  display.setTextSize(1);
  display.setCursor(0, 0);
  display.println("ESP32 + SSD1306");

  // Separator line
  display.drawLine(0, 12, 127, 12, SSD1306_WHITE);

  // Counter display
  display.setCursor(0, 20);
  display.println("Counter value:");

  display.setTextSize(2);
  display.setCursor(0, 36);
  display.print(counter);

  display.display();

  counter++;
  delay(1000);
}Απαραίτητες βιβλιοθήκες: Adafruit SSD1306 2.5.16, Adafruit GFX Library 1.12.6
Wiring diagram and example code generated by Codey.online — https://www.codey.online





 English
  Nederlands
  Frans
Frans  Deutsch
  Italiano
  Español
  Suomi
Suomi  Polski
  Dansk
Dansk  Български
  Čeština
  Hrvatski
  Svenska
  Aileen